

Coffee Station Setup: Layout, Accessories and Storage
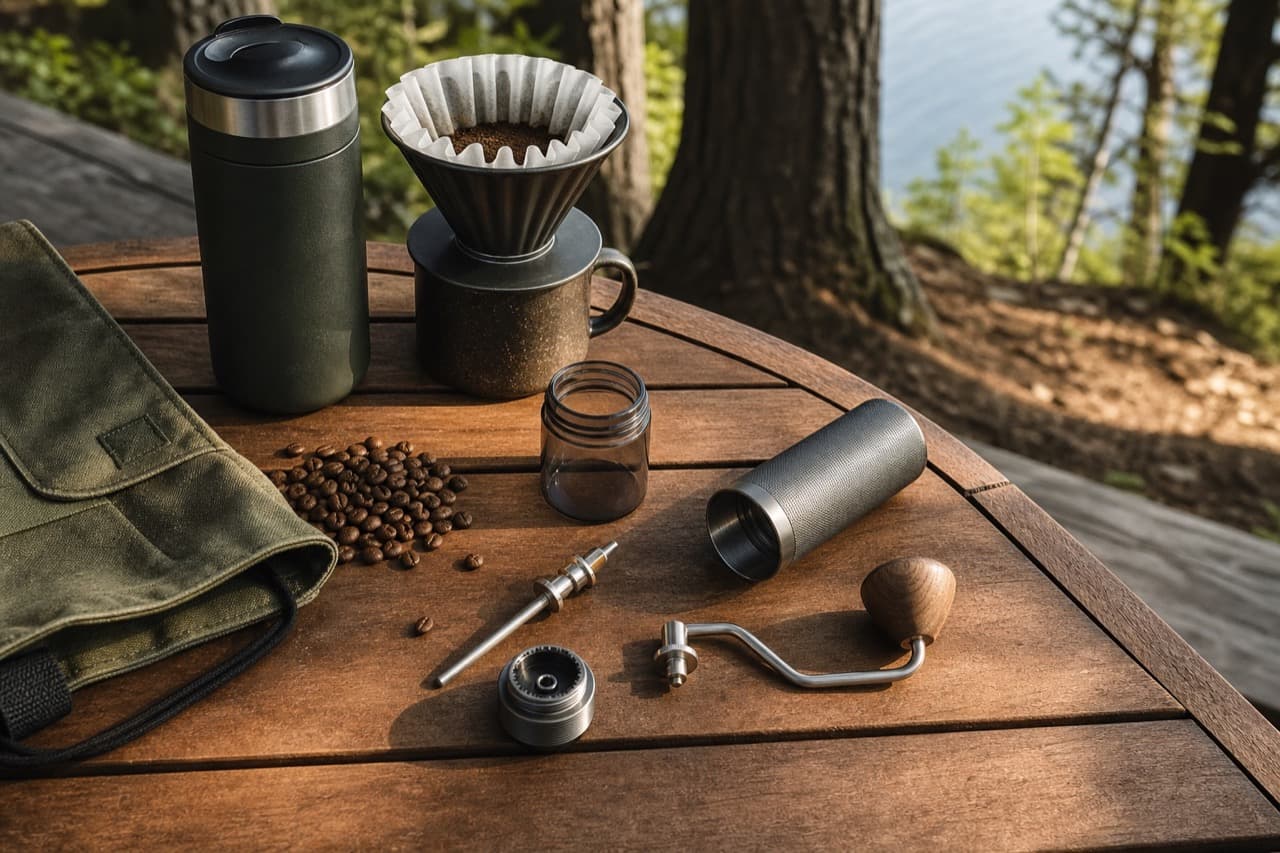
A good coffee station setup puts everything for your morning cup within one arm’s reach of a single outlet: beans, grinder, scale, brewer, water and cups, with a spot to clean up afterward. Get the location, power and workflow right and the accessories almost organize themselves; get them wrong and you end up shuffling a kettle around a crowded counter at 7 a.m. This guide is for anyone setting up a dedicated coffee corner, whether it is 18 inches of counter in an apartment or a full home coffee bar. It focuses on layout, safety and storage rather than any single gadget, and it works whether you brew pour-over, drip, French press or espresso.
Key takeaways
- Pick a spot near an outlet and ideally near the sink, but out of the main cooking path and away from the stove’s heat.
- Measure the gap between counter and upper cabinets before buying an espresso machine or hopper grinder; many need more than the space under typical cabinets.
- Heating appliances such as kettles and espresso machines draw a lot of power; avoid running them on a shared power strip or extension cord.
- Store beans in an airtight, opaque container away from heat and light, and buy roughly what you will use in a couple of weeks.
- Organize by workflow: beans and grinder first, brewer in the middle, cups and cleanup at the end, so you never cross back over yourself.
Choosing the right spot
Start with the constraints you cannot change: outlets, water and counter space. The ideal location is a stretch of counter with its own outlet, a few steps from the sink for filling and rinsing, and outside the zone between stove, sink and fridge where cooking happens. Placing coffee gear right next to the cooktop exposes beans to heat and puts cords near burners.
If the kitchen is tight, consider a different room. A sideboard in the dining area, a bar cart or a cabinet in a hallway can work, provided there is an outlet and you are comfortable carrying water. In that case, a pitcher or a kettle you fill at the sink becomes part of the station.
Measure height and depth
Standard US base cabinets give roughly 24-25 inches (61-64 cm) of counter depth, and upper cabinets often sit about 18 inches (46 cm) above the counter. That vertical gap is where many setups fail: tall hopper grinders, espresso machines with cups warming on top, and brewers with lids that open upward may not fit or may need to be pulled forward every time. Steam from kettles and espresso machines can also damage cabinet finishes over time, so leave space or pull appliances out from under cabinets while in use.
Power and electrical safety
Coffee gear is mostly small, but several items are heating appliances. Electric kettles and espresso machines commonly draw somewhere around 1,000-1,500 watts or more, and running both at once on the same circuit can trip a breaker. Check the wattage on each appliance’s label, and if you regularly trip breakers, run them one at a time or ask an electrician about your kitchen circuits.
- Plug heating appliances directly into a wall outlet. Many manufacturers advise against power strips and extension cords for kettles and espresso machines.
- Countertop outlets near sinks in modern US kitchens are typically GFCI-protected. If yours are not, have an electrician check them before setting up a wet station.
- Keep cords away from the sink edge and route them behind appliances so a hand reaching for a mug cannot snag them.
- Let kettles and machines cool before cleaning, and unplug before descaling or wiping the base.
If you add smart plugs to automate a drip machine, use one rated for the appliance’s load and never automate a kettle or anything that could boil dry. Our smart plug guide covers load ratings and safe scheduling.
Accessories that earn their counter space
A station should hold only what you use weekly. Everything else goes in a cabinet. The table below groups common items by brewing style.
| Brew style | Core items | Nice extras | Counter footprint |
|---|---|---|---|
| Pour-over | Burr grinder, scale with timer, dripper, gooseneck kettle, filters | Server or carafe, filter holder | Small; about 18-24 inches of width |
| Drip machine | Machine, grinder or pre-ground storage, filters | Scale for consistent doses | Medium; check height under cabinets |
| French press or AeroPress | Brewer, grinder, kettle | Scale, stirring paddle | Small |
| Espresso | Machine, espresso-capable grinder, tamper, knock box, scale | Milk pitcher, distribution tool, tamping mat | Largest; plan for 30 inches or more |
A scale and a decent burr grinder do more for taste than any decorative accessory. Weighing coffee and water keeps each cup consistent; see our coffee scale accuracy and timing guide for what precision you actually need. We stock the Timemore Black Mirror Coffee Scale, the Starseeker E55 Electric Coffee Grinder and, for a quiet no-outlet option, a hand grinder covered in our manual coffee grinder buying guide; check each product page for dimensions and specifications to make sure they fit your space.
Organizing beans, cups and supplies
Roasted beans lose aroma when exposed to air, heat, light and moisture. Keep them in an airtight, opaque container or the original valve bag sealed tightly, on a shelf away from the stove and direct sun. Buying about one to two weeks of beans at a time keeps them fresh. Freezing works for longer storage if you portion beans into sealed containers and avoid repeatedly opening a cold container in a warm kitchen, which causes condensation.
- Tray or mat: a tray under the brewing area catches drips and grounds and makes wiping the counter one quick lift.
- Vertical space: a small shelf or wall rail holds mugs and filters, freeing counter space. Check your wall can take the load.
- Drawer inserts: keep filters, pods, scoops and spare parts sorted below the station instead of on it.
- Labels and dates: mark containers with the roast date so you use the oldest beans first.
- Cleanup kit: a brush for the grinder, a cloth, a knock box for espresso pucks and a small bin keep mess contained.
Workflow and cleaning routine
Arrange the station in the order you use it. For right-handed users, a common flow runs left to right: beans, grinder, scale and brewer, then cups and the cleanup area by the sink. Keep the kettle where its cord reaches without crossing the brewer.
Daily: rinse brewers, empty the knock box or grounds, wipe the tray. Weekly: wash removable parts and brush out the grinder. Monthly, or per the manual: descale kettles and machines, which matters more in hard-water areas, and do a deeper grinder clean as described in our guide on how to clean a coffee grinder.
Mistakes to avoid
- Building the station beside the stove. Heat degrades beans and puts cords near burners.
- Ignoring cabinet clearance. A machine that only fits when pulled out every morning gets annoying fast and steam can damage cabinets.
- Running a kettle and espresso machine on one power strip. It can overload the strip and trip the breaker.
- Displaying beans in clear jars on an open shelf. Light and air dull flavor quickly.
- Filling the counter with gadgets. Rarely used tools crowd out the workspace and collect grounds.
How to plan your station
Pick a compact pour-over or AeroPress setup on a tray if you have under two feet of counter and brew one or two cups a day. Pick a drip machine with a burr grinder if you make coffee for several people. Pick an espresso layout only if you can dedicate around 30 inches or more of counter, a direct outlet and enough clearance for the machine and grinder. For more space-saving ideas, see our small space organization guide, and browse the home and kitchen collection for coffee gear.
Frequently asked questions
What do you need for a coffee station?
At minimum you need a brewer, a grinder or a supply of ground coffee, a kettle if your method needs one, cups and an airtight container for beans. A scale and a tray are the most useful extras.
Where should a coffee station go in a kitchen?
Put it near an outlet and, ideally, the sink, but outside the main cooking area and away from the stove. If counter space is tight, a cart or sideboard in another room can work.
How should I store coffee beans at a coffee bar?
Use an airtight, opaque container kept away from heat, light and moisture. Buy about one to two weeks’ worth at a time, and freeze extra beans in sealed portions if needed.
Can I plug a kettle and coffee maker into the same outlet?
You physically can, but both are high-wattage appliances, and running them at the same time may trip the breaker. Use them one at a time or on separate circuits, and avoid power strips for heating appliances.
How much space does a coffee bar need?
A simple pour-over or AeroPress setup can fit in roughly 18-24 inches of counter. An espresso machine with a grinder usually needs 30 inches or more plus vertical clearance.
Shop Home & Kitchen
View all →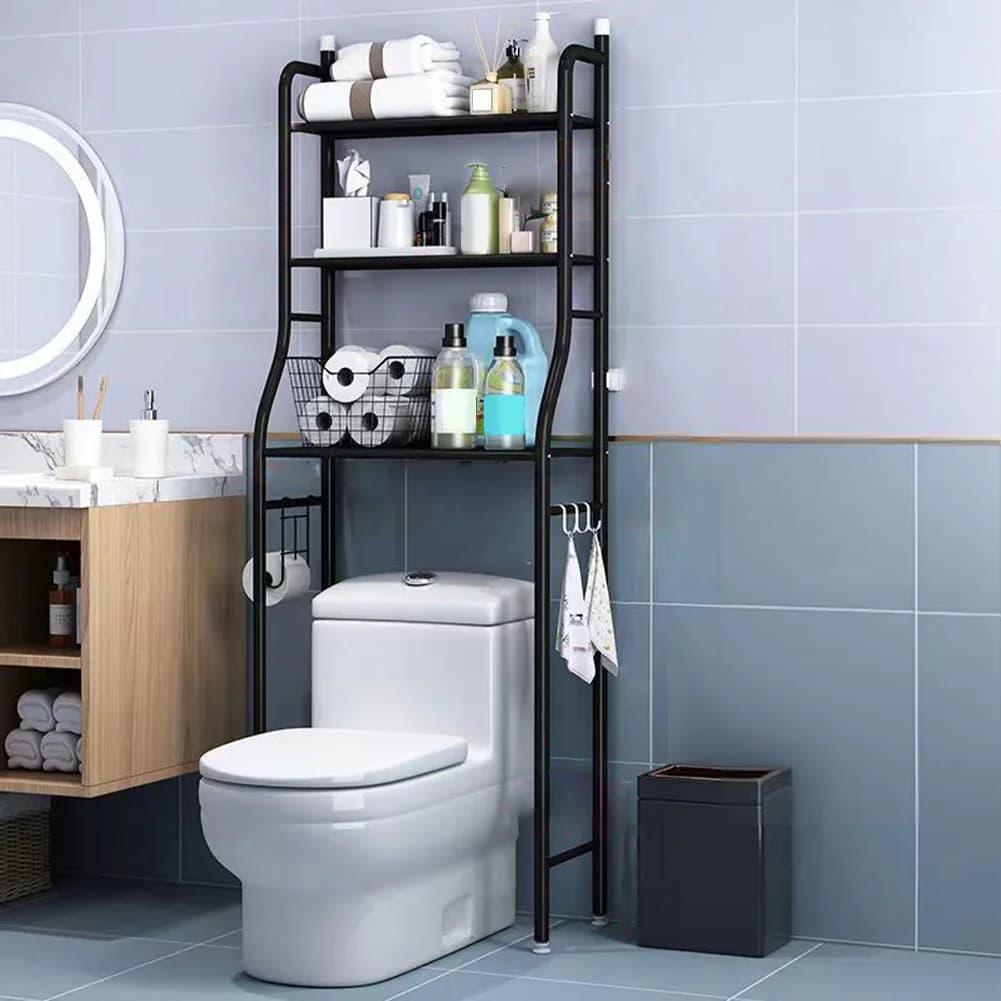
3-Tier Over-Toilet Storage Rack in Powder-Coated Carbon Steel
In stock · Options available · Ships in 7–21 business days
 Sale
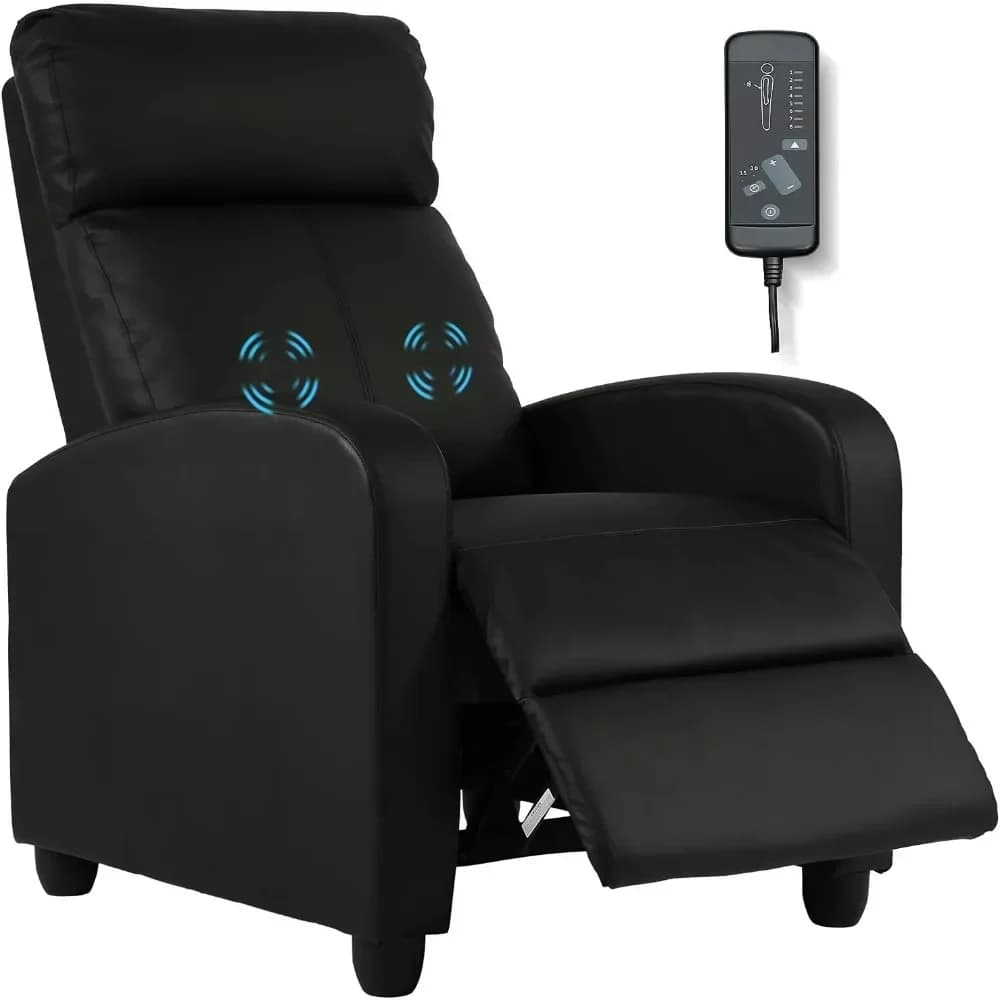
SaleWingback Massage Recliner Chair in PU Leather with Footrest
In stock · Options available · Ships in 7–21 business days
 Sale
SaleMid-Century Modern Accent Armchairs, Set of Two, Wood Frame
In stock · Options available · Ships in 7–21 business days

Fireplace Flame Ultrasonic Humidifier and Oil Diffuser
In stock · Options available · Ships in 7–21 business days
Continue reading
 Home & Kitchen
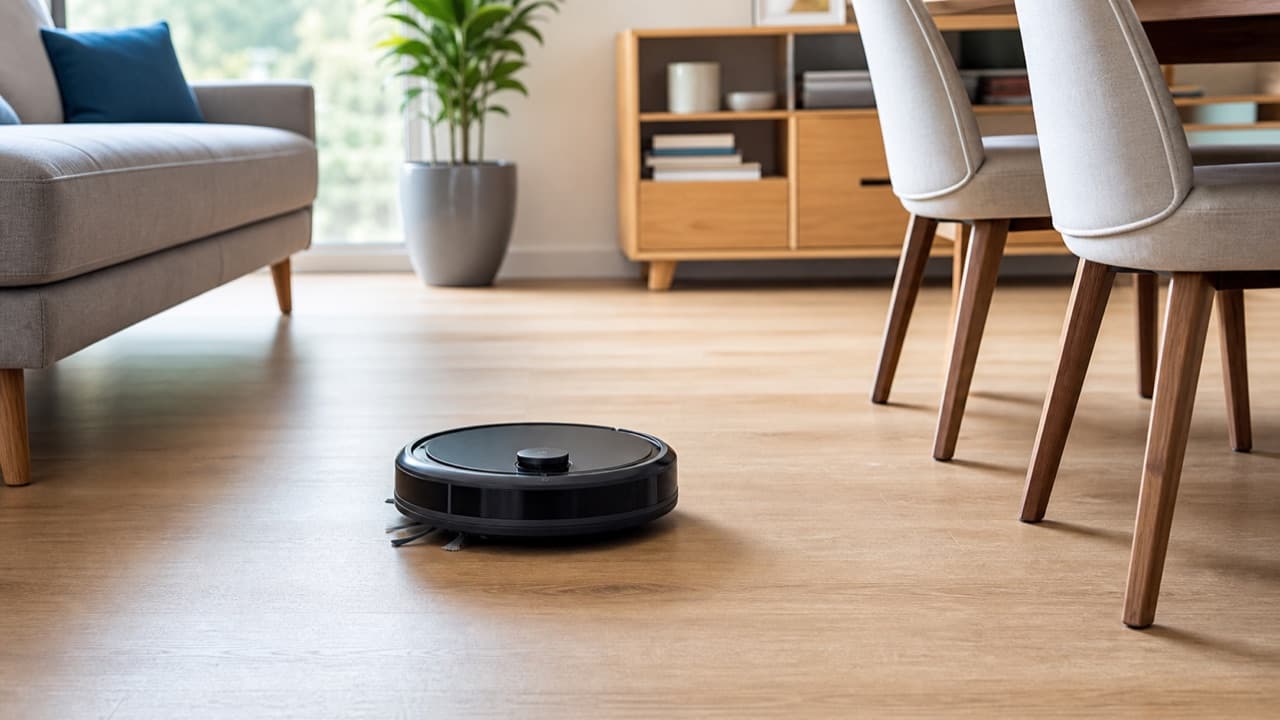
Robot Vacuum Setup: Stop It Getting Stuck at Home
Robot vacuum setup that stops it getting stuck: prep rooms for the first map, set no-go zones, tame cords, rugs and thresholds, and keep sensors clean.
 Home & Kitchen
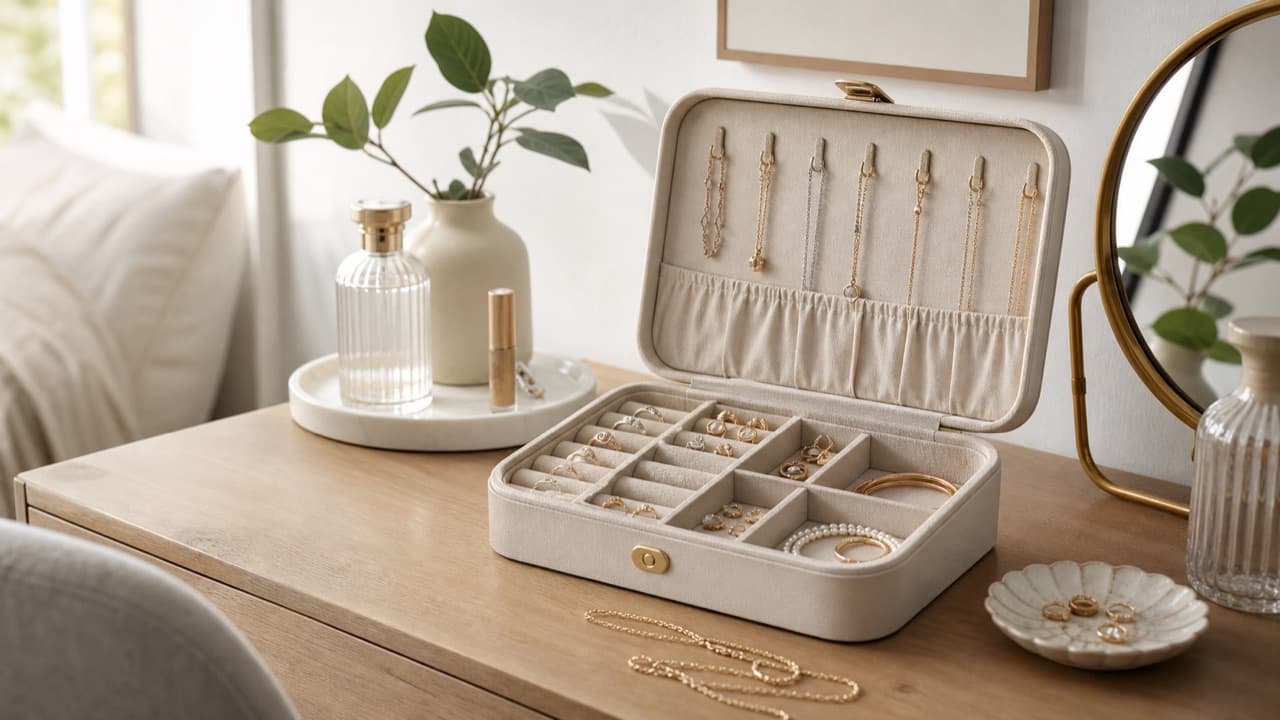
Jewelry Storage for Small Apartments: Minimalist Setups
Jewelry storage for small apartments: how to edit your collection, prevent tangles and tarnish, choose organizers by piece type and store valuables sensibly.
 Home & Kitchen
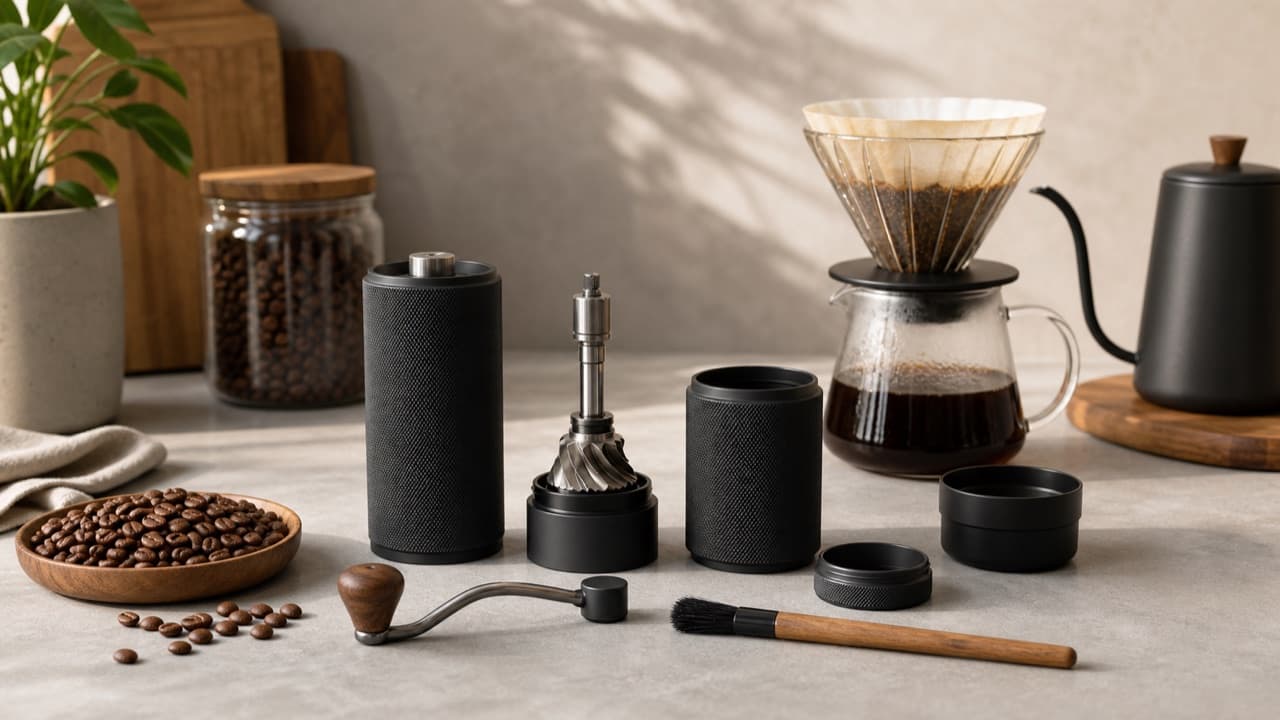
Manual Coffee Grinder Buying Guide: Burrs, Steps, Speed
Manual coffee grinder buying guide: compare burr size and material, stepped vs stepless adjustment, bearings, capacity and grind effort for your brew.