

Permanent Eaves Lights: Planning Length, Power and Install
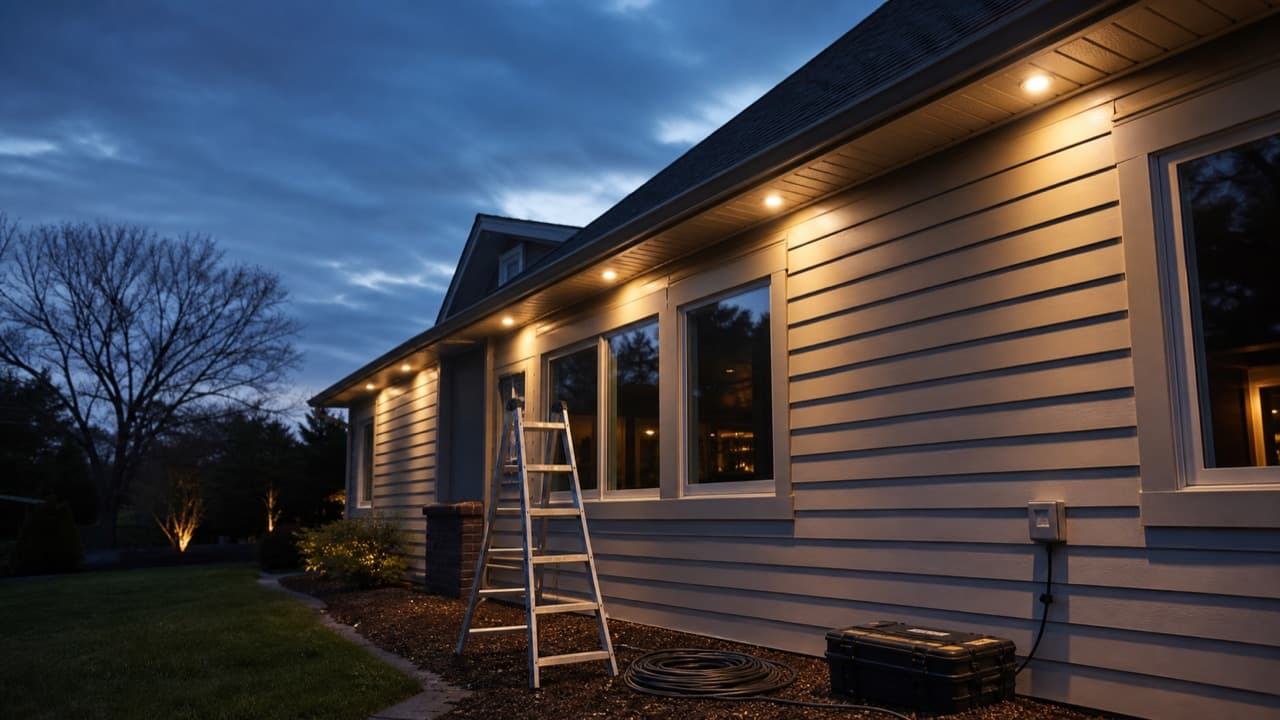
Permanent eaves lights are a fixed run of LED lighting along your roofline, so the plan matters more than the effects: measure the real route, match it to the power and controller limits, and decide who is going up the ladder before you order anything. This guide is for homeowners considering a year-round lighting kit under the eaves, soffit or fascia who want the layout, power and weather questions settled first. It stays on planning; for lumens, IP codes and other outdoor fixtures, read our smart outdoor lighting buying guide.
Key takeaways
- Measure along the exact path the lights will follow, including corners, gable edges and dips, then add roughly 10 percent for slack, cut mistakes and connectors.
- Check the maximum run length per power supply and per controller in the manual. Long LED runs can dim or shift color toward the far end, which is why many systems ask you to feed power at more than one point.
- Every link in the chain needs an outdoor rating: the lights, the connectors, the controller and the power supply. A weatherproof strip fed by an indoor-only power supply is a common gap.
- Decide where the power will come from before the first clip goes up. A GFCI-protected outdoor outlet with an in-use cover, close to the controller, beats a long extension cord.
- Roof-edge work is the risky part of the job. Hire a professional for second stories, steep roofs or any route near overhead power lines.
- Check HOA rules, local codes and the warranty terms on installation before you drill or glue anything to your house.
How to measure for permanent eaves lights
Most ordering mistakes come from measuring the wrong thing. The footprint of the house on a plot plan is not the length of the roofline, and a rough walk-around guess tends to come up short at the corners. Work through it in this order:
- Decide the scope. Front elevation only, front plus sides, or the full perimeter each give a very different run length, so pick one before you measure.
- Sketch the roofline and label every straight section: eaves, rakes (the sloped edges of a gable), porch roofs, dormers and any garage roof.
- Measure each section with a tape or measuring wheel from the ground where you can, or from a roof plan or scaled aerial image where you cannot. Note inside and outside corners separately, because they use different connectors or bends.
- Correct sloped sections. A rake is longer than the ground distance beneath it. On a 6/12 pitch, multiply the horizontal run by about 1.12. A gable on a 24 foot (7.3 m) wide house has roughly 13.4 feet (4.1 m) of sloped edge on each side, not 12.
- Add about 10 percent, then compare the total with the maximum length per controller and per power feed listed for the product.
Also note where the lights can be cut or joined. Some products cut only at marked points, which can leave an awkward leftover at the end of a run, and some need a connector kit for every corner. Counting those up front avoids a half-lit gable. If the length you need exceeds one controller’s limit, plan a second controller and treat it as a separate zone.
Power supply, voltage drop and outlets
Permanent roofline kits generally run on low-voltage DC, commonly 12 V or 24 V, supplied by an adapter or driver that plugs into mains power. The listing should state the supply’s wattage and the lights’ consumption per foot or per meter. Multiply the two for your run, then leave headroom: electricians and lighting installers commonly keep a driver under roughly 80 percent of its rating, which also keeps it cooler. As an illustration only, a 60 foot run at an assumed 4 W per foot is 240 W, so you would look for a supply of about 290 W or more across the system.
Voltage drop is the other limit. Low-voltage current weakens along a long thin conductor, so the far end of a strip can look dimmer or more orange than the start. The usual fixes are shorter runs, a second power feed partway along, or heavier cable between supply and lights. Follow the manufacturer’s maximum, and do not join extra strip lengths from another product to stretch a run.
Where the outlet and power supply go
- Use a GFCI-protected outdoor receptacle with a weatherproof in-use cover, the type that closes over a plugged-in cord.
- Mount power supplies off the ground, shaded if possible, with a drip loop in the cable so water runs off before it reaches the connector.
- Leave air around the supply. Drivers shed heat, and burying one in insulation or a sealed box shortens its life.
- If there is no suitable outlet near the roofline, a licensed electrician can add one. That is usually a better permanent answer than an extension cord that crosses a doorway.
- Run low-voltage cable in the mounting channel, behind a downspout or along trim, and seal any wall penetration with exterior-rated sealant.
Weather ratings and mounting surfaces
Seasonal string lights come down in January. Permanent lights face summer sun, freeze and thaw, wind, and snow sliding off the roof. Look for an IP rating on the lights (IP65 or higher is a sensible floor for exposed runs, covered in our outdoor lighting guide), a wet-location safety listing where one is offered, a stated operating temperature range that fits your winters, and a UV-resistant covering. Then ask the same question about the controller and the power supply, which are often rated lower than the strip itself.
How the lights attach matters as much as the rating:
- Mounting channels or clips with screws hold best on wood or composite fascia and soffit. Seal the screw holes against water, and leave small gaps in long channels so they can expand and contract with temperature.
- Adhesive backing grips poorly on dusty, textured, damp or cold surfaces and can pull paint away when removed. Treat it as a short-term or rental solution rather than something to rely on for years.
- Vinyl or aluminum trim may need channels designed for it so you do not warp the panel or void the siding warranty.
- Brick, stucco and masonry need masonry fasteners, which is a good moment to bring in a pro.
- Roofing and flashing should never be fastened through for light mounting. Keep clear of shingles and keep soffit vents open, because blocked vents affect attic airflow.
Safe installation: ladders, heights and when to hire a pro
The lights are low voltage. The danger is the height. Ladder falls are a leading cause of home improvement injuries, and a roofline job means repeated reaching sideways at the top of a ladder.
- Set the ladder on firm, level ground at roughly a 4 to 1 angle (one foot out for every four feet up), and keep three points of contact.
- Move the ladder instead of overreaching. Your belt buckle should stay between the rails.
- Keep ladders, poles and metal tools well away from overhead service lines. A distance of 10 feet (3 m) is a commonly cited minimum; your utility can advise on your situation.
- Do not work in wind, rain, ice or near dusk. Have a second person hold the base.
- Leave the power supply unplugged until every connection is made and sealed, then test the whole run from the ground.
- Choose a professional installer for second-story eaves, steep pitches, tile or slate roofs, or anything that needs new electrical work. Ask about insurance, whether they offer an installation warranty, and how they handle repairs.
Smart controls: Wi-Fi, schedules and local control
Most roofline kits are controlled through a phone app over 2.4 GHz Wi-Fi. That band reaches farther than 5 GHz but still struggles through brick, stucco and metal siding. Stand where the controller will sit and check your phone signal before you mount anything. If it is weak, an outdoor-rated mesh node or a better router fixes it more reliably than a stack of cheap extenders; our Wi-Fi 6 router upgrade guide covers when that is worth doing.
Before you buy, check what the system does when the internet drops. Good designs keep running their last schedule, and some offer Bluetooth or on-device control. Also check which voice assistants and smart-home platforms are supported, how firmware updates are delivered, and whether the account supports a strong, unique password. A smart roofline is a networked device, so treat it like a camera or a router.
RGBIC means each segment of the strip can show a different color at once, where basic RGB shows one color along the whole length. That is what makes chase effects and split-color holiday scenes possible. The Smart WiFi RGBIC permanent Eaves Lights on ADLTHUB are one option; check the product page for run length, weather rating, power supply details, app features, delivery and returns, and compare them against the numbers from your own measurements. For everyday use, a warm white scene looks more natural against most siding than full-color effects, and a brightness cap is considerate to neighbors.
Permanent eaves lights compared with other roofline options
| Option | Setup effort | Yearly effort | Best for |
|---|---|---|---|
| Permanent eaves lights | One careful installation, ideally with a pro on tall roofs | Occasional inspection and cleaning | Owners who decorate often and want to stop climbing a ladder every season |
| Seasonal clip-on string lights | Low per install, but repeated every year | Hang, test, remove and store each season | Renters and anyone who only decorates in December |
| DIY LED strip in a channel | Moderate, with more choices to research | Depends on the strip and enclosure ratings | Hobbyists comfortable matching supplies, controllers and weatherproofing |
| Plug-in smart spotlights | Low, aimed at the wall from the ground | Minimal | Lighting the facade without touching the roofline |
Mistakes to avoid
- Ordering from the ground plan. Gables, dormers and corners add length that a footprint measurement misses, so you end up short on the last section.
- Treating the strip rating as the system rating. The power supply and connectors are the usual weak points in rain and snow.
- Relying on adhesive in cold or dusty conditions. It looks fine in July and sags by January.
- Chaining past the stated maximum. Overloaded controllers and supplies fail early or flicker, and the far end of the run looks wrong.
- Skipping the Wi-Fi check. A controller that keeps dropping offline misses the schedules you set it up for.
- Working alone or in poor conditions. A short job on a wet ladder is still a fall risk.
- Ignoring HOA and code rules. Some neighborhoods restrict color, brightness or attachment methods, and fixing it later costs more than asking first.
Which setup fits your home
- Pick a DIY permanent kit if the house is single-story, the roofline is mostly straight, and you already have a suitable outdoor outlet.
- Pick a professionally installed system if you have two stories, a steep roof, brick or stucco to fasten into, or no nearby outlet.
- Pick seasonal lights if you rent, if you only decorate once a year, or if your HOA limits permanent changes.
- Pick smart spotlights or wall lighting if you want a lit facade without any roofline work; see our wall light placement guide for mounting heights and wiring basics.
Whichever route you take, list your measured run length, the outlet location, the Wi-Fi signal at the controller and the ratings of each component. If a product cannot answer those four items clearly, keep looking. You can browse related products in home and kitchen.
Frequently asked questions
How do I work out how many feet of eaves lights I need?
Measure every section of the roofline you want lit, correct sloped edges for pitch, and add about 10 percent. Then compare the total with the maximum run per controller and power supply listed for the product, because those limits can force you to split the job into zones.
Can permanent eaves lights stay up all year?
That is what they are designed for, but check the stated weather rating and operating temperature range against your climate. Inspect connectors, seals and mounting points once a year, and clear heavy snow or debris from channels when you can do it safely from the ground.
Can I install permanent eaves lights myself?
Many homeowners handle a single-story install with a stable ladder, a helper and the right fasteners. Adding an outdoor outlet, working on a second story or fastening into masonry is usually better left to a licensed electrician or an experienced installer.
How much does it cost to run permanent eaves lights?
Multiply the system wattage by the hours on, divide by 1,000 for kilowatt-hours, then multiply by your electricity rate. For example, 100 W for 6 hours is 0.6 kWh a night, roughly 10 cents at an illustrative 17 cents per kWh. Check your own bill for the real rate and the listing for the real wattage.
Do smart eaves lights work without Wi-Fi?
Some do, through Bluetooth control or schedules stored on the controller, while others lose app control and some features when the network drops. Check the product listing for offline behavior before you buy, and test it once after installation.
Will permanent lights damage my siding or roof?
Screws into fascia leave holes that should be sealed, and strong adhesive can lift paint when removed. Never fasten through shingles or flashing, and check your warranty, lease or HOA terms before mounting anything to the exterior.
Shop Home & Kitchen
View all →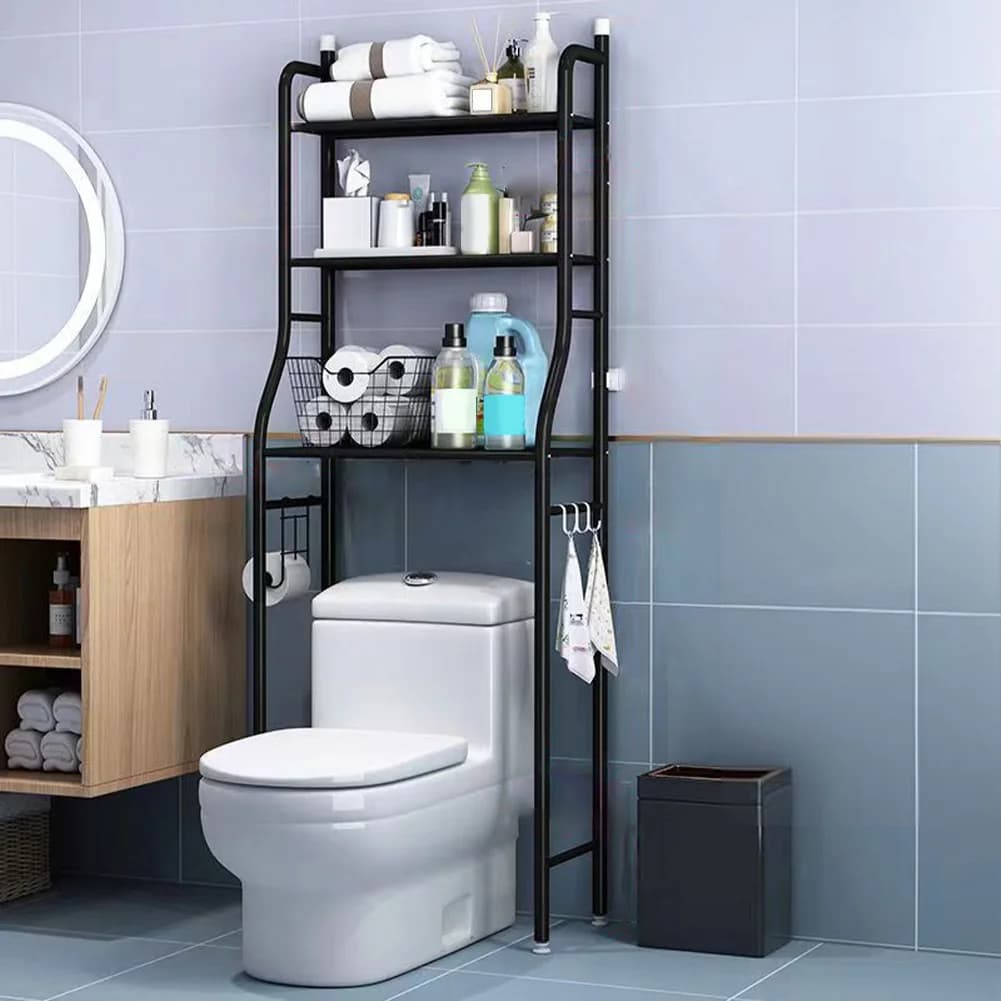
3-Tier Over-Toilet Storage Rack in Powder-Coated Carbon Steel
In stock · Options available · Ships in 7–21 business days
 Sale
Wingback Massage Recliner Chair in PU Leather with Footrest
In stock · Options available · Ships in 7–21 business days
 Sale
Mid-Century Modern Accent Armchairs, Set of Two, Wood Frame
In stock · Options available · Ships in 7–21 business days

Fireplace Flame Ultrasonic Humidifier and Oil Diffuser
In stock · Options available · Ships in 7–21 business days
Continue reading
 Home & Kitchen
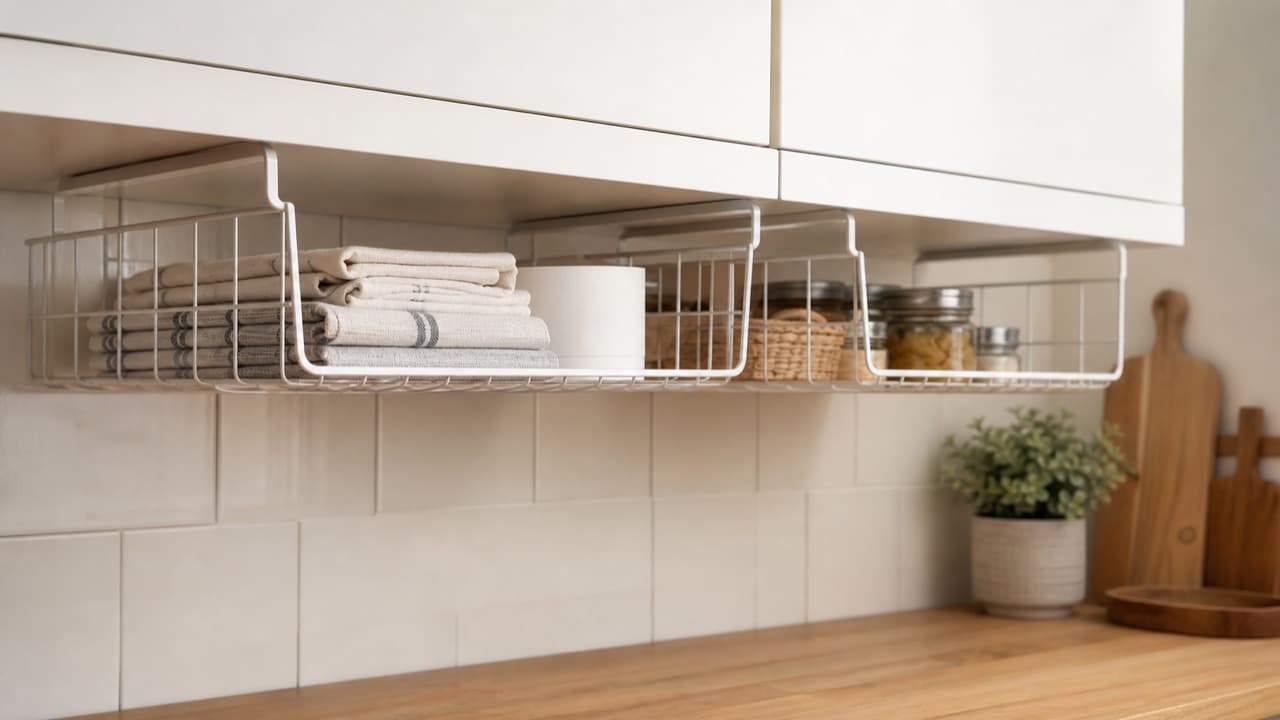
Under-Shelf Baskets for Small Apartments: Fit and Load Guide
Under-shelf baskets for small apartments: how to measure shelf thickness and clearance, which shelves can take them, load limits and the best spots to use one.
 Home & Kitchen
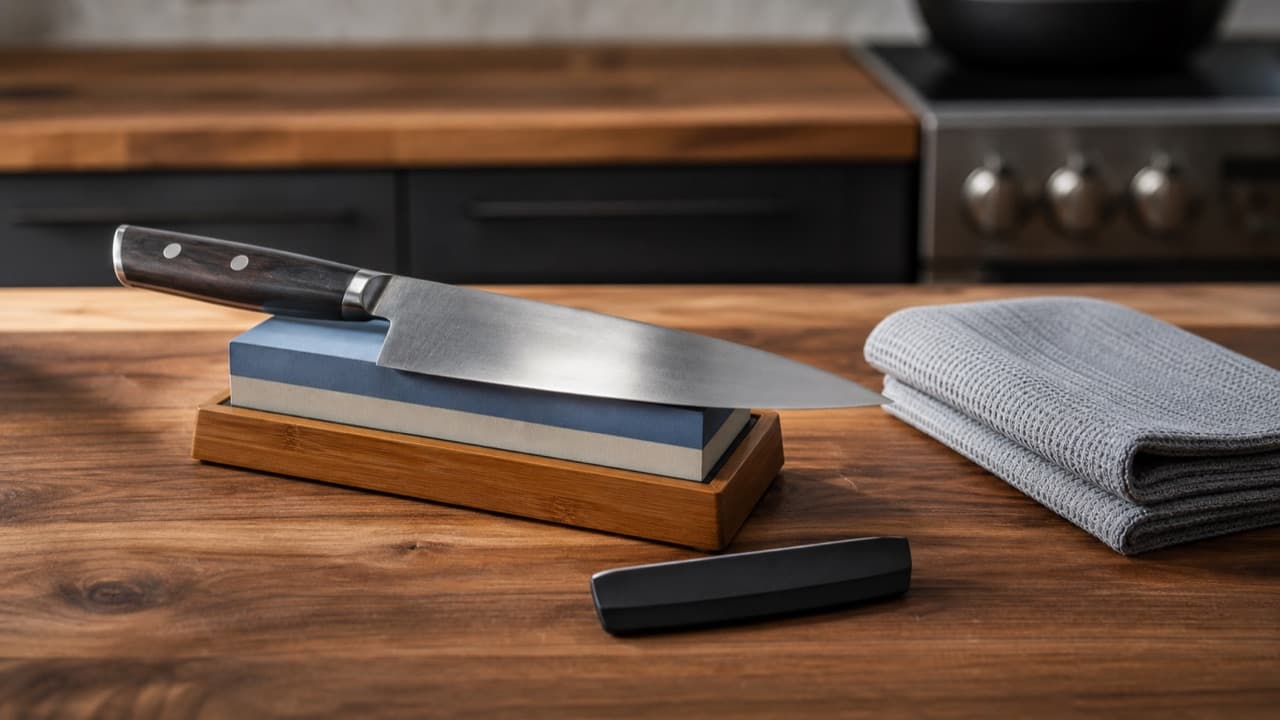
Knife Sharpening at Home: Stones, Rods and Pull-Throughs
Knife sharpening at home explained: honing vs sharpening, whetstone grits and angles, pull-through and electric sharpeners, serrated knives, and safe technique.
 Home & Kitchen
Aromatherapy Diffuser Safety: Pets, Kids and Placement
Aromatherapy diffuser safety basics: how long to run it, oils to avoid around pets and young children, safe placement, electrical care and warning signs.