

Resistance Band Progression: When to Move Up a Band
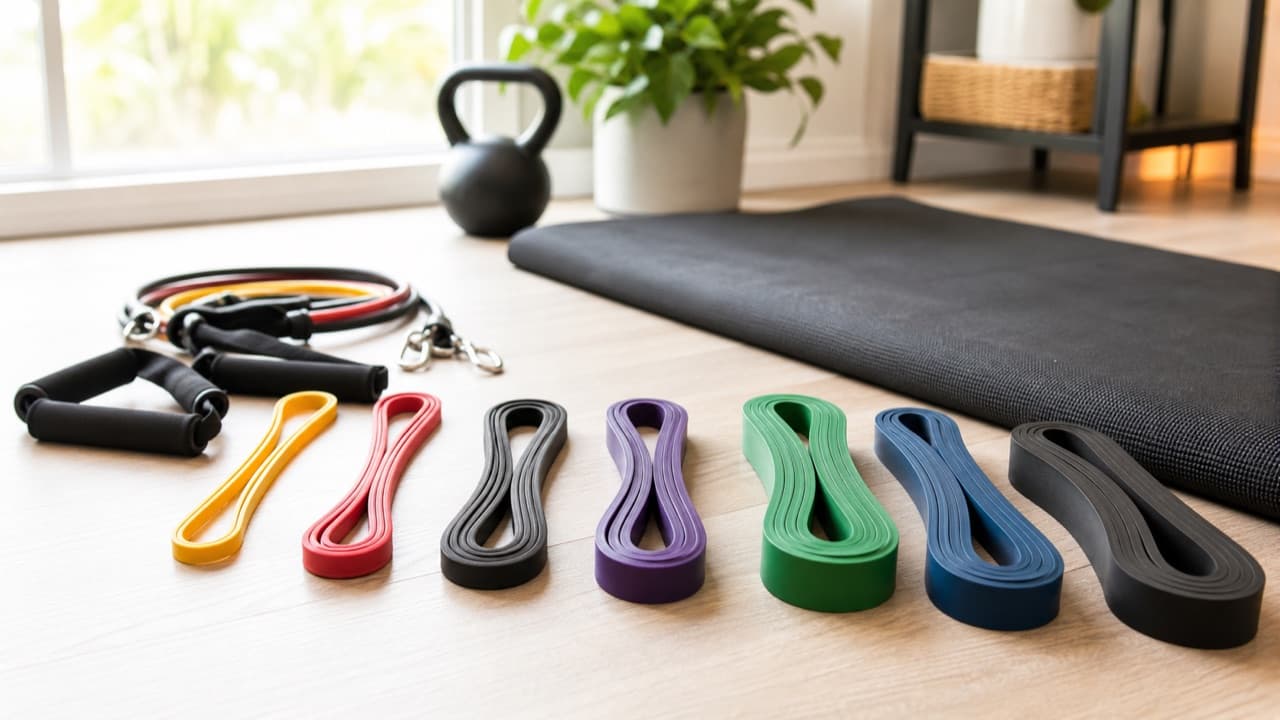
Resistance band progression means making exercises gradually harder so your muscles keep adapting, and the simplest rule is this: move up a band once you can complete all your sets at the top of your rep range with good form for two sessions in a row. Before switching bands, you can also add challenge by stepping further from the anchor, slowing the tempo or adding a pause. This guide is for home exercisers, travelers and beginners who own a set of bands and want a clear plan instead of guessing when to grab the next color.
Key takeaways
- Band tension rises as the band stretches, so you’re strongest-loaded at the end of each rep, not the start.
- Band colors aren’t standardized across brands. A red band from one maker may be lighter or heavier than another’s.
- Use a rep range such as 8 to 15. When you hit the top of it for all sets with control, it’s time to progress.
- Change one variable at a time: more reps, more stretch, slower tempo, a pause, a single-arm or single-leg version, or a heavier band.
- Inspect bands before every session and replace any with nicks, cracks or sticky, faded patches.
How band resistance works
A dumbbell weighs the same throughout a lift. A band doesn’t: its tension increases as you stretch it further. Packaging usually lists a tension range in pounds, such as 15 to 35 lb, which typically represents the resistance at light stretch up to a stated maximum stretch. Because methods differ, use those numbers to compare bands within one set, not between brands.
That rising tension has two practical effects:
- Exercises feel hardest at the end range, such as the top of a row or the lockout of a press. That’s where you’ll fail first.
- Starting position changes the load. Standing a step further from the anchor, or choking up on a band, adds tension through the whole rep without changing bands.
Common band types
| Band type | What it looks like | Best for | Progression notes |
|---|---|---|---|
| Mini loop band | Short flat loop, often around 9 to 12 in (23 to 30 cm) | Glute bridges, lateral walks, warm-ups | Small tension jumps; easy to stack two loops |
| Fabric hip band | Wider woven loop | Lower-body work where latex bands roll up | Fewer levels; progress with tempo and reps |
| Long power band | Large loop, commonly around 41 in (104 cm) | Rows, presses, assisted pull-ups, squats | Big jumps between levels; use stance and stretch to fill the gaps |
| Tube band with handles | Tube with clips, handles and often a door anchor | Gym-style pushes and pulls at home | Clip-on tubes can be combined for fine adjustment |
| Flat therapy band | Long flat sheet, no loop | Light shoulder and rehab-style exercises | Very light increments; often used as a physical therapist directs |
When to move up a band
Pick a rep range for each exercise: roughly 8 to 12 for strength-focused work, 12 to 20 for endurance and lighter accessory moves. Then apply a simple test:
- Complete every set at the top of your rep range,
- with full range of motion and controlled tempo,
- while finishing with one or two reps still in the tank,
- for two sessions in a row.
When all four are true, progress. When you move to a heavier band, expect your reps to drop back toward the bottom of the range. That’s normal; build them back up before progressing again.
If the next band up is too big a jump, which is common with long power bands, use the in-between methods below rather than forcing sloppy reps with a band you can’t control.
Six ways to progress before switching bands
- Add reps. The simplest step. Work from the bottom to the top of your range.
- Increase the starting stretch. Step further from the anchor, widen your stance on a band squat, or shorten the band by wrapping it once around your hand. Small changes add meaningful tension.
- Slow the lowering phase. Take about three seconds to return. Bands pull hard on the way back, so controlling that phase builds strength and protects joints.
- Pause at the hardest point. Hold for one to two seconds at full stretch, such as the squeeze of a row.
- Go single-sided. One-arm rows or split squats roughly double the demand on the working limb with the same band.
- Combine bands. Doubling two light loops, or clipping two tubes to one handle, creates in-between levels.
Change one thing at a time and log it. A note such as “row, green band, two steps from door, 3 x 12” makes the next session’s target obvious.
A simple four-week progression example
Take a standing band row anchored at chest height, done twice a week:
- Week 1: medium band, 3 sets of 10, standing where tension starts at arm’s length.
- Week 2: same band and position, 3 sets of 12 to 15.
- Week 3: step about half a stride further back, 3 sets of 10 with a one-second squeeze.
- Week 4: if all sets reach 15 cleanly from that position, move to the next band and drop to 8 to 10 reps.
The same pattern works for presses, squats, pull-aparts and glute bridges. Pull-apart and row variations also support upper-back strength, which pairs well with the advice in the posture corrector safe use guide.
Band safety, anchoring and care
- Inspect before each session. Stretch the band gently and look for nicks, cracks, thinning or sticky spots. A damaged band can snap toward your face or body.
- Respect the maximum stretch. Many makers state a limit, often expressed as a multiple of resting length. Overstretching shortens band life and increases snap risk.
- Anchor securely. Use a door anchor on the hinge side of a solid door that closes toward you, so pulling pushes the door shut, not open. Don’t anchor to furniture that can tip, or to rough metal edges that cut latex.
- Protect your eyes and face. Keep the band’s path away from your face, and avoid letting a stretched band snap back.
- Know your material. Latex is common; if you have a latex allergy, choose bands labeled latex-free, such as TPE or fabric options.
- Store bands away from sun and heat. UV and heat degrade latex. Wipe sweaty bands with a damp cloth, air-dry and store loosely in a bag.
Pair your bands with a cushioned, non-slip surface for floor work; see choosing yoga mat thickness for how thickness affects stability. The thick non-slip TPE yoga mat on ADLTHUB is one option; check its product page for dimensions, delivery and returns.
Mistakes to avoid
- Jumping bands by color across brands. Colors aren’t consistent. Judge by how many controlled reps you can do.
- Letting the band snap back. Uncontrolled returns waste half the exercise and stress joints.
- Progressing every session. Strength gains take weeks. Moving up before you own the current level leads to shortened reps and compensations.
- Using a worn band “one more time”. Small surface cracks often appear before a band fails.
- Anchoring to a door that opens toward the pull. The door can swing open and the anchor can fly free.
How to choose your next step
- Move up a band if you’ve hit the top of your rep range with control for two sessions running.
- Adjust stance or tempo instead if the next band is so heavy your reps drop below the bottom of your range.
- Add a second set of lighter loops if your kit has big gaps between levels.
- Buy a set with more levels if you train often and keep running into large jumps; tube sets with clip-on bands give the finest control.
- Get guidance first if you’re returning from an injury or have joint pain; a physical therapist can set safe starting levels.
For more home training ideas, see the beginner yoga props guide and browse fitness and sports.
Frequently asked questions
How do I know when to increase resistance band tension?
When you can complete all sets at the top of your chosen rep range, with full range and controlled tempo, for two sessions in a row. Then move to a heavier band or increase the stretch.
Can you build muscle with resistance bands?
Yes, as long as the exercises are challenging enough and you progress over time. Bands provide a different resistance curve from weights, being hardest at the end of a movement, but muscles respond to sufficient effort either way.
Are resistance band colors the same across brands?
No. There is no universal color standard, so the same color can represent different tensions. Use the tension range printed on your set, and your own rep performance, to compare levels.
How often should I replace resistance bands?
Replace them whenever you see nicks, tears, cracks or sticky, discolored areas. Frequency of use, storage and exposure to sun and heat all affect lifespan, so inspect them before every session.
Is it OK to double up resistance bands?
Yes, combining bands is a common way to create in-between tension levels. Make sure both are anchored securely and stretch evenly so one doesn’t take all the load.
Shop Fitness & Active Life
View all →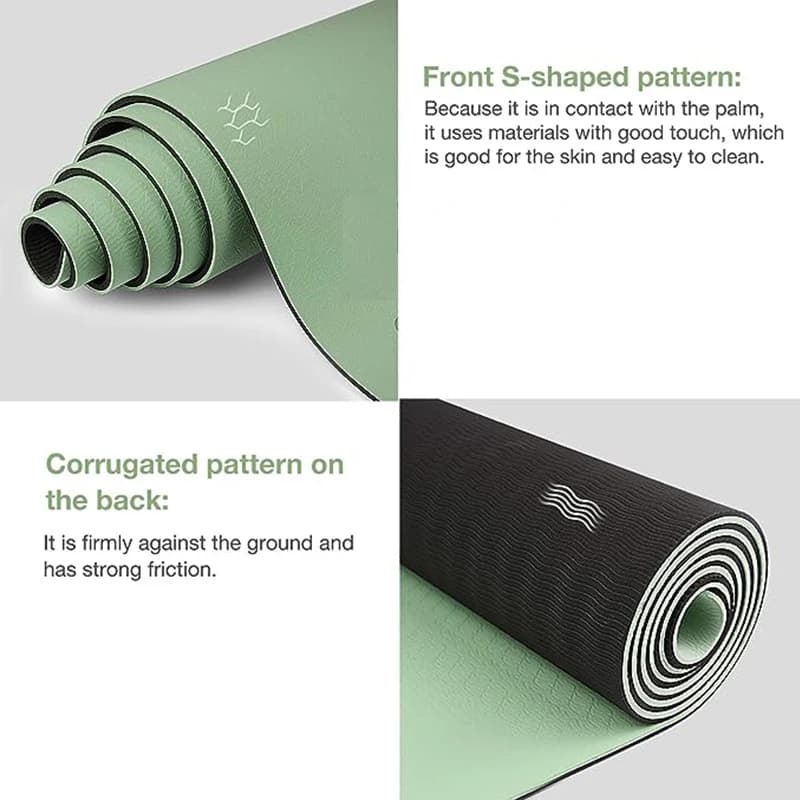
Continue reading
 Fashion & Style
Watch Band Material Guide: Silicone, Leather, Metal, Nylon
Watch band material guide comparing silicone, FKM, leather, steel, titanium and nylon for sweat, skin sensitivity and style, plus how to get lug width right.
 Buying Guides
Open-Box vs New Electronics: When the Discount Is Worth It
Open-box vs new electronics: what open-box really means, how it differs from refurbished, warranty and return checks, and which devices to buy open-box.
 Home & Kitchen
Humidifier Filter Replacement: When and How to Do It
Humidifier filter replacement explained: wick vs cartridge filters, how often to change them, warning signs, hard-water effects, and how to clean between swaps.