

Knife Sharpening at Home: Stones, Rods and Pull-Throughs
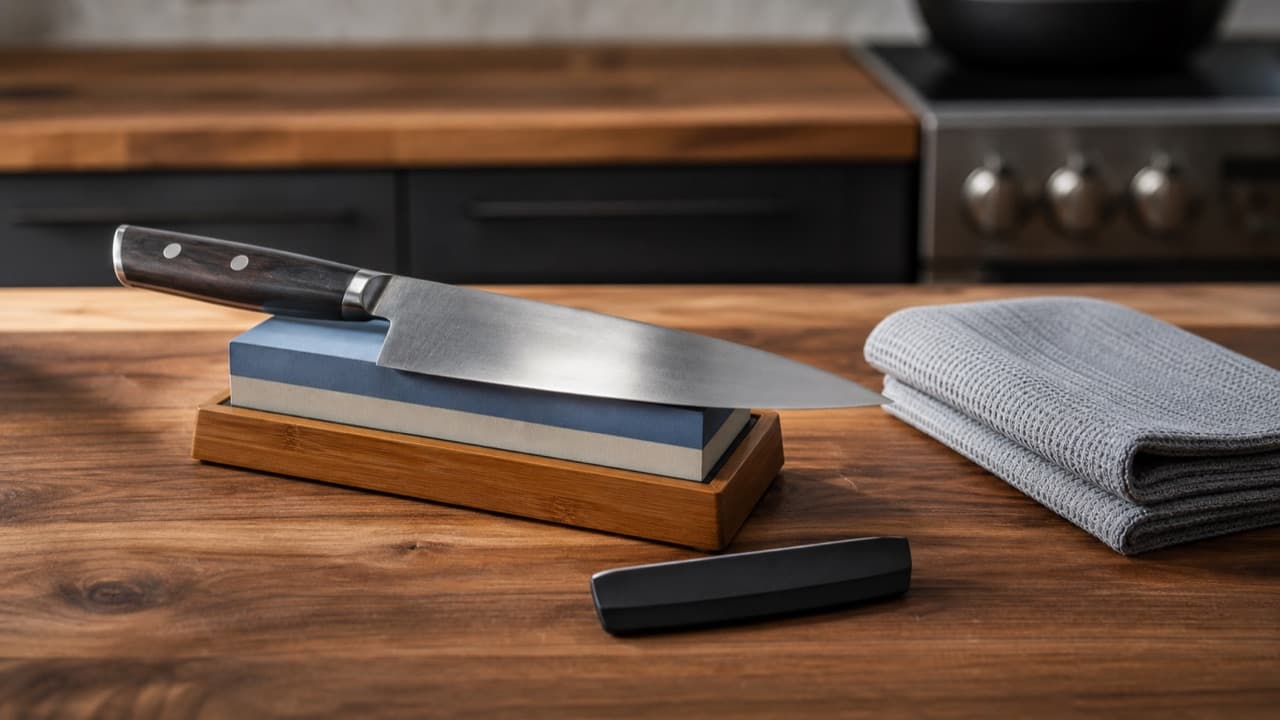
Knife sharpening at home works best as two separate habits: hone the edge with a rod every few uses to realign it, and actually sharpen it on a whetstone, guided system or quality sharpener only when honing no longer brings it back, often every few months for a home cook. Most dull knives in home kitchens are not worn out; they simply have a rolled edge or have never been sharpened at the right angle. This guide is for home cooks who want a reliably sharp chef’s knife without paying for professional sharpening every time, and who want to avoid damaging good knives.
Key takeaways
- Honing realigns an edge; sharpening removes metal to form a new edge. A honing rod cannot fix a truly dull knife.
- Many Western and German-style knives have an edge of roughly 20 degrees per side; many Japanese-style knives are closer to 15 degrees per side. Check your maker’s recommendation.
- A combination whetstone around 1000 and 4000 to 6000 grit covers most home sharpening; coarser stones are for repairing chips.
- The burr, a tiny wire of metal on the opposite side, tells you you have sharpened all the way to the edge. No burr, no new edge.
- Pull-through and electric sharpeners are fast but remove more metal; use them gently and never on single-bevel or serrated knives unless the sharpener is designed for them.
- Safety first: stabilize the stone, keep fingers behind the edge, and slow down.
Honing vs sharpening
A sharp edge is two very thin planes of steel meeting at a fine line. In use, that line bends and rolls to one side, so the knife feels dull even though the metal is still there. Honing on a steel or ceramic rod pushes the edge back into line. Sharpening grinds away metal on each side until the two planes meet again at a fresh line.
- Steel honing rods (smooth or lightly ridged) realign without removing much metal. They suit softer Western knives.
- Ceramic rods realign and remove a tiny amount of metal. They suit harder steels, including many Japanese knives, which can chip on ridged steels.
- Diamond rods actually sharpen. They are aggressive and best used occasionally, not as a daily hone.
To hone, hold the rod vertically with the tip on a cutting board, place the heel of the knife against the rod at your edge angle, and draw the knife down and toward you so the whole edge touches the rod. Alternate sides, 5 to 8 light strokes each. Pressure should be light, about the weight of the knife itself.
Sharpening methods compared
| Method | Skill needed | Edge quality | Metal removed | Good for |
|---|---|---|---|---|
| Whetstone (water or oil stone) | Moderate; improves with practice | Excellent, adjustable angle | Controlled | Most kitchen knives, including Japanese and single-bevel |
| Guided rod system | Low to moderate | Very good, consistent angle | Controlled | People who want precision without freehand practice |
| Manual pull-through | Low | Fair to good | Moderate; can be aggressive | Inexpensive everyday knives, quick touch-ups |
| Electric sharpener | Low | Good on many Western knives | High if overused | Busy kitchens with many Western knives |
| Professional service | None | Depends on the sharpener | Varies | Expensive knives, chips, broken tips, serrated blades |
How to sharpen a knife on a whetstone
Choose and prepare the stone
Grit numbers describe abrasive size; lower is coarser. Roughly: 200 to 600 for repairing chips and reshaping, 800 to 1500 for setting a new edge on a dull knife, 3000 to 6000 for refining and polishing, and 8000 and above for a mirror finish that most home cooks do not need. A 1000/6000 combination stone is a common first purchase.
Many water stones need soaking for 10 to 15 minutes until bubbles stop; “splash and go” stones only need surface water. Oil stones use honing oil instead. Follow the stone’s instructions. Set the stone on a damp towel or non-slip base so it cannot slide.
Sharpen
- Find the angle. For about 20 degrees, a common guide is roughly the height of two stacked coins under the spine of a typical chef’s knife; for 15 degrees, a little lower. Angle guides that clip onto the spine help beginners.
- Start on the coarser side. Edge facing away from you, place fingertips of your other hand on the flat of the blade near the edge, and push the knife across the stone, sweeping from heel to tip so the whole edge contacts the stone.
- Work one side until a burr forms. Feel gently by sliding a fingertip off the opposite side of the edge, from spine toward edge, never along it. A slight catch along the full length is the burr.
- Switch sides and repeat until a burr forms on the first side.
- Refine on the finer grit with lighter pressure and fewer strokes, alternating sides.
- Remove the burr with a few very light alternating strokes, then a few gentle passes through a piece of cork or soft wood, or a light pass on a strop.
- Test by slicing paper or a tomato. Clean the knife and wipe the stone; let water stones air-dry before storing.
Flatten water stones occasionally with a flattening plate or coarse sandpaper on glass. A dished stone rounds the edge and makes consistent angles hard.
Serrated, single-bevel and specialty knives
Serrated knives stay sharp for a long time because the points do most of the work. When they dull, use a tapered ceramic or diamond rod sized to each scallop, sharpening only the beveled side, then remove the burr from the flat side lightly. Do not run them through standard pull-through slots unless the sharpener has a serrated setting.
Single-bevel Japanese knives such as yanagiba and deba are sharpened mainly on the beveled side with just a light touch on the flat back. Pull-through and electric sharpeners will ruin the geometry.
Ceramic knives are too hard for ordinary steel sharpeners; they need diamond abrasives or a manufacturer service.
Mistakes to avoid
- Using a honing rod as a sharpener. If a few strokes do not restore the edge, it needs real sharpening.
- Inconsistent angle. Rocking the knife rounds the edge. Slow, steady strokes beat fast ones.
- Stopping before a burr. Without a burr you have polished the shoulder, not created a new edge.
- Heavy pressure on pull-through sharpeners. It chews off metal and can leave a ragged edge. Use light, even passes.
- Sharpening the heel or bolster unevenly. A full bolster that is never thinned creates a gap near the heel over time.
- Dishwashers and glass boards. Both dull edges quickly, so you sharpen more often than needed. Use wood or plastic boards and hand-wash.
- Testing sharpness on your thumb or arm. Use paper or food.
Safety basics
A sharp knife is safer than a dull one in normal use because it needs less force, but sharpening puts your hands close to the edge. Work on a stable surface, keep the stone from sliding, move slowly, and keep fingertips on the flat of the blade, never in the edge’s path. Wipe metal filings off the knife before using it with food. Check the knife manufacturer’s care guidance; some warranties exclude damage from improper sharpening.
How to choose a sharpening setup
- Pick a honing rod plus a 1000/6000 whetstone if you own one or two quality knives and are willing to practice for a few sessions.
- Pick a guided system if you want consistent angles without freehand skill.
- Pick a quality pull-through or electric sharpener if you have inexpensive Western knives and want speed, accepting more metal loss.
- Use a professional for chipped edges, broken tips, single-bevel or high-end knives you do not want to risk.
Sharp knives make meal prep faster; pair them with good storage habits from the vacuum sealing vs food containers guide and the essential kitchen gadgets roundup. Kitchen tools are in the home and kitchen category.
Frequently asked questions
How often should I sharpen my kitchen knives?
For a typical home cook, honing every few uses and sharpening every two to six months is common. Heavy daily use needs more frequent sharpening. Sharpen when honing no longer restores the edge.
What angle should I sharpen my knife at?
Many Western knives use about 20 degrees per side, and many Japanese knives about 15 degrees per side. Follow the manufacturer’s guidance when available, and keep the angle consistent.
Are pull-through knife sharpeners bad for knives?
Not necessarily, but they remove metal quickly and can leave a rougher edge if used with heavy pressure. They are fine for inexpensive Western knives with light strokes; avoid them for Japanese, single-bevel or serrated knives unless designed for them.
What grit whetstone should a beginner buy?
A combination stone with about 1000 grit on one side and 4000 to 6000 on the other covers most home needs. Add a coarse stone only if you need to repair chips.
Can I sharpen a serrated knife at home?
Yes, with a tapered ceramic or diamond rod, sharpening each scallop on the beveled side only. It is slow work, and many people send serrated knives to a professional instead.
Shop Home & Kitchen
View all →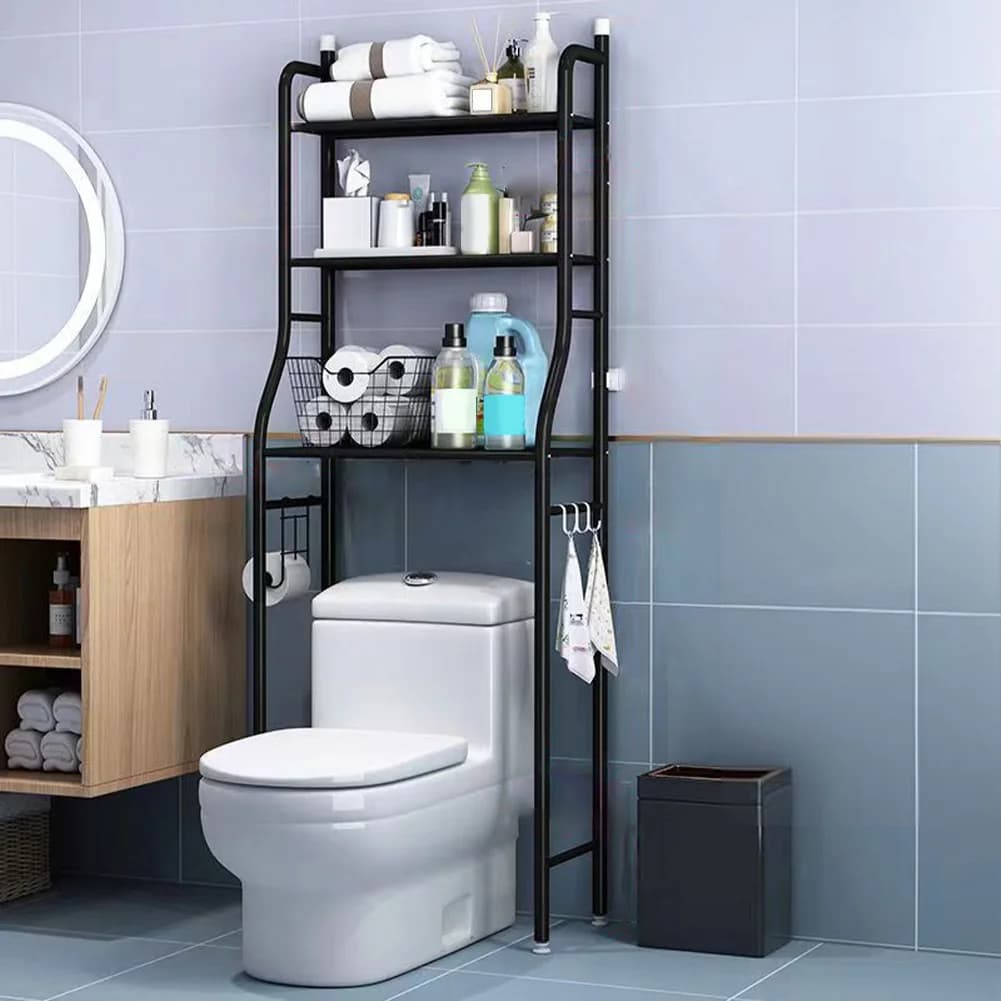
3-Tier Over-Toilet Storage Rack in Powder-Coated Carbon Steel
In stock · Options available · Ships in 7–21 business days
 Sale
Wingback Massage Recliner Chair in PU Leather with Footrest
In stock · Options available · Ships in 7–21 business days
 Sale
Mid-Century Modern Accent Armchairs, Set of Two, Wood Frame
In stock · Options available · Ships in 7–21 business days

Fireplace Flame Ultrasonic Humidifier and Oil Diffuser
In stock · Options available · Ships in 7–21 business days
Continue reading
 Home & Kitchen
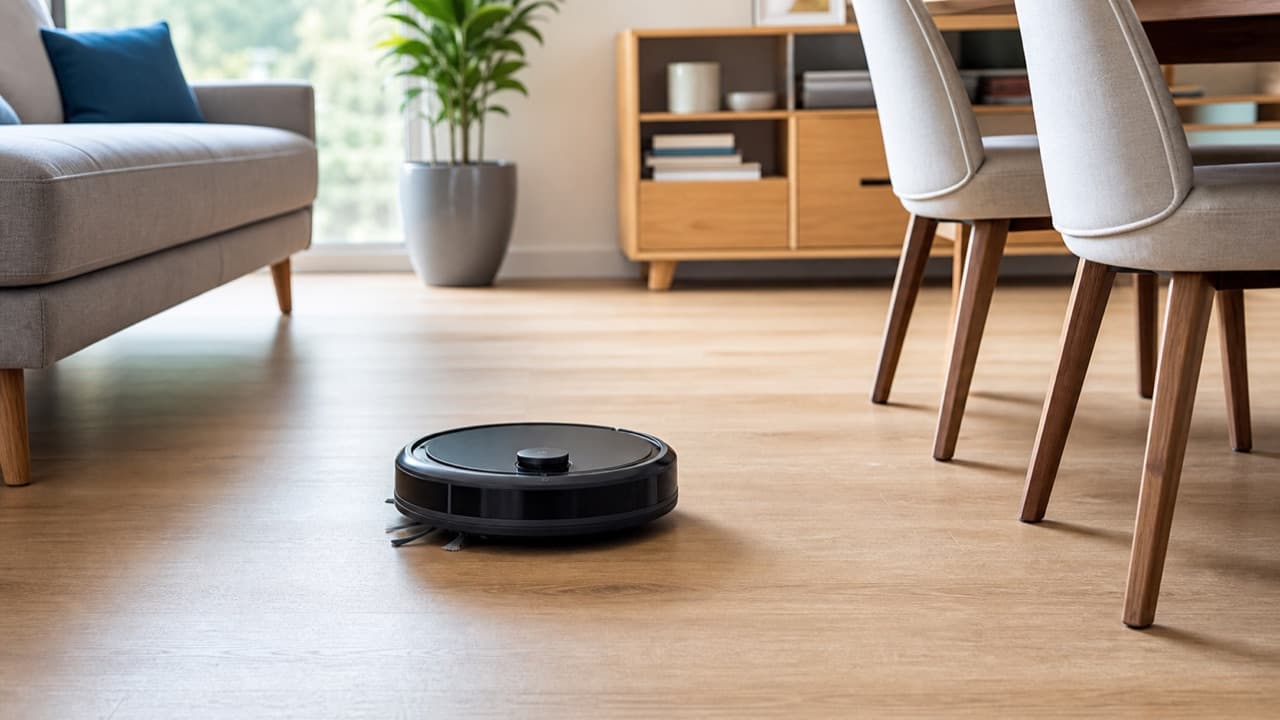
Robot Vacuum Setup: Stop It Getting Stuck at Home
Robot vacuum setup that stops it getting stuck: prep rooms for the first map, set no-go zones, tame cords, rugs and thresholds, and keep sensors clean.
 Home & Kitchen
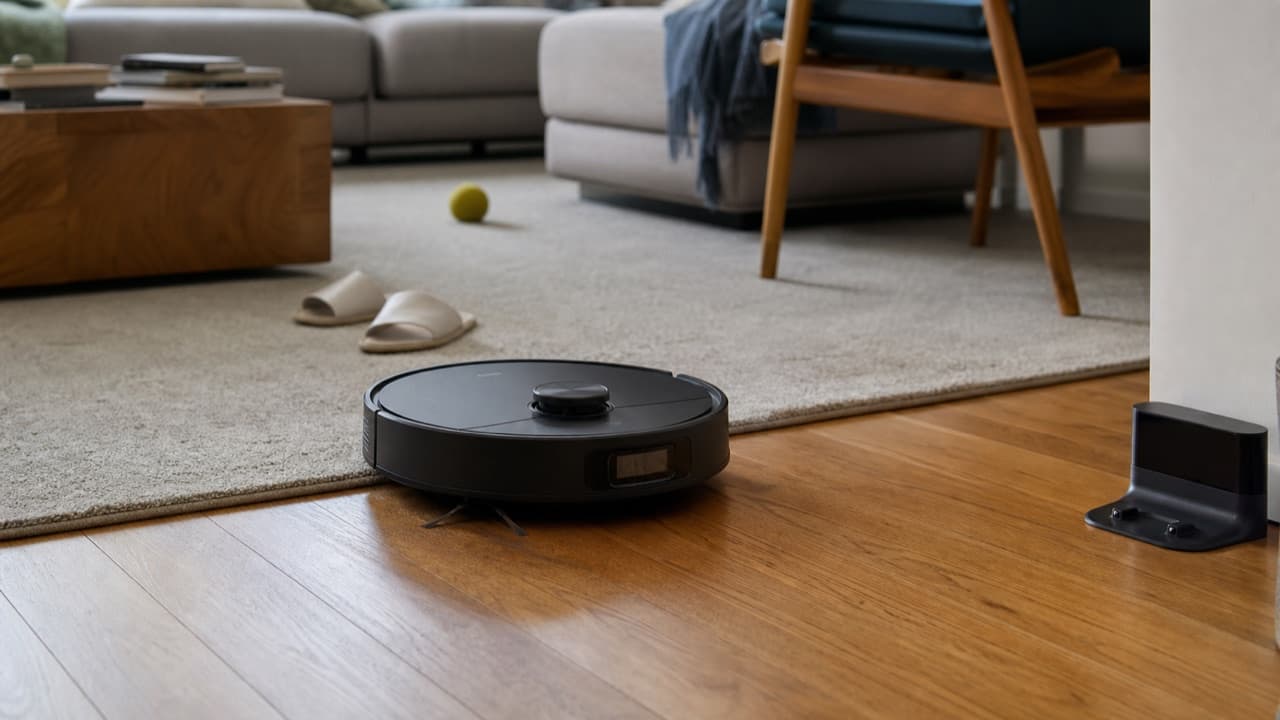
Is a Robot Vacuum Worth It for Your Home? Fit Checklist
Is a robot vacuum worth it for your home? Check thresholds, rug pile, dark floors, furniture clearance, pets, stairs and dock space before you buy one.
 Home & Kitchen
Under-Shelf Baskets for Small Apartments: Fit and Load Guide
Under-shelf baskets for small apartments: how to measure shelf thickness and clearance, which shelves can take them, load limits and the best spots to use one.