

Hair and Scalp Care Routine for People Who Heat Style
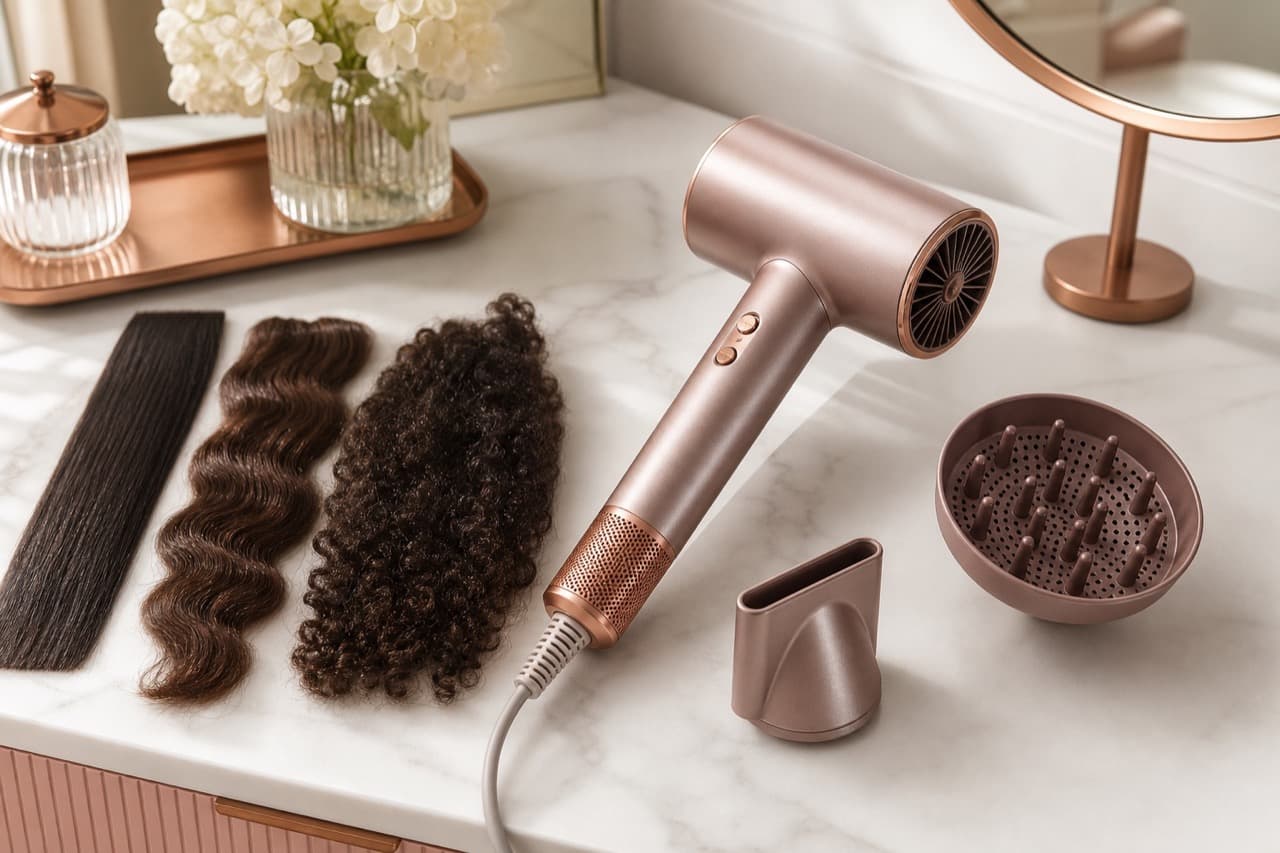
A good hair and scalp care routine for heat styling does two things: it keeps the scalp clean and comfortable, and it reduces the total heat your lengths take each week, since damage builds up from repeated exposure rather than a single blow-dry. You do not have to give up your dryer, straightener or curler. This guide is for people who heat style several times a week and want a realistic routine: how to wash, dry and style, how to plan heat across the week, and how to tell when your hair is asking for a break.
Key takeaways
- Treat scalp and lengths separately: cleanse the scalp, condition the mid-lengths and ends.
- Remove most water before any heat; towel-blot and rough-dry rather than styling from soaking wet.
- Use the lowest tool temperature that holds your style, and one slow pass rather than several fast ones.
- Plan heat-free or low-heat days each week instead of full heat styling every day.
- Apply heat protectant every time you use a hot tool, on the lengths rather than the scalp.
- Persistent itching, flaking, redness or noticeable shedding is a reason to see a dermatologist, not to change products again.
Step 1: Wash for your scalp, not your ends
How often to wash depends mainly on your scalp. Oily scalps often feel best washed daily or every other day; drier scalps and tightly curled or coily hair are often washed once or twice a week. There is no single correct number. A few habits help almost everyone:
- Shampoo goes on the scalp. Massage with fingertips, not nails, and let the rinse run through the lengths. Scrubbing the ends adds friction to the oldest, most fragile hair.
- Lukewarm water. Very hot water can leave the scalp feeling tight and dry.
- Conditioner goes on mid-lengths and ends. That is where heat damage concentrates. Keep heavy conditioners off the roots if your hair goes flat.
- Clarify occasionally. Styling products, dry shampoo and silicones can build up on the scalp and hair. A clarifying wash every few weeks resets things; follow the product’s directions, especially on color-treated hair.
- Go easy on dry shampoo. It is useful between washes, but layering it day after day leaves residue on the scalp. Wash it out properly.
Step 2: Dry smarter so you heat less
Most heat exposure happens while you blow-dry, so cutting drying time is the biggest single change you can make.
- Blot, do not rub. Squeeze water out with a microfiber towel or cotton T-shirt. Rubbing roughens the cuticle and creates frizz you later fight with more heat.
- Detangle gently from the ends upward with a wide-tooth comb while hair is damp and conditioned.
- Let it air-dry partly if you have time. Even 10 to 20 minutes removes a lot of water.
- Rough-dry on high speed, moderate heat, moving constantly and keeping the nozzle a few inches away, until hair is about 70 to 80 percent dry.
- Style the last stretch section by section with lower speed and a nozzle or brush, then finish with the cool shot.
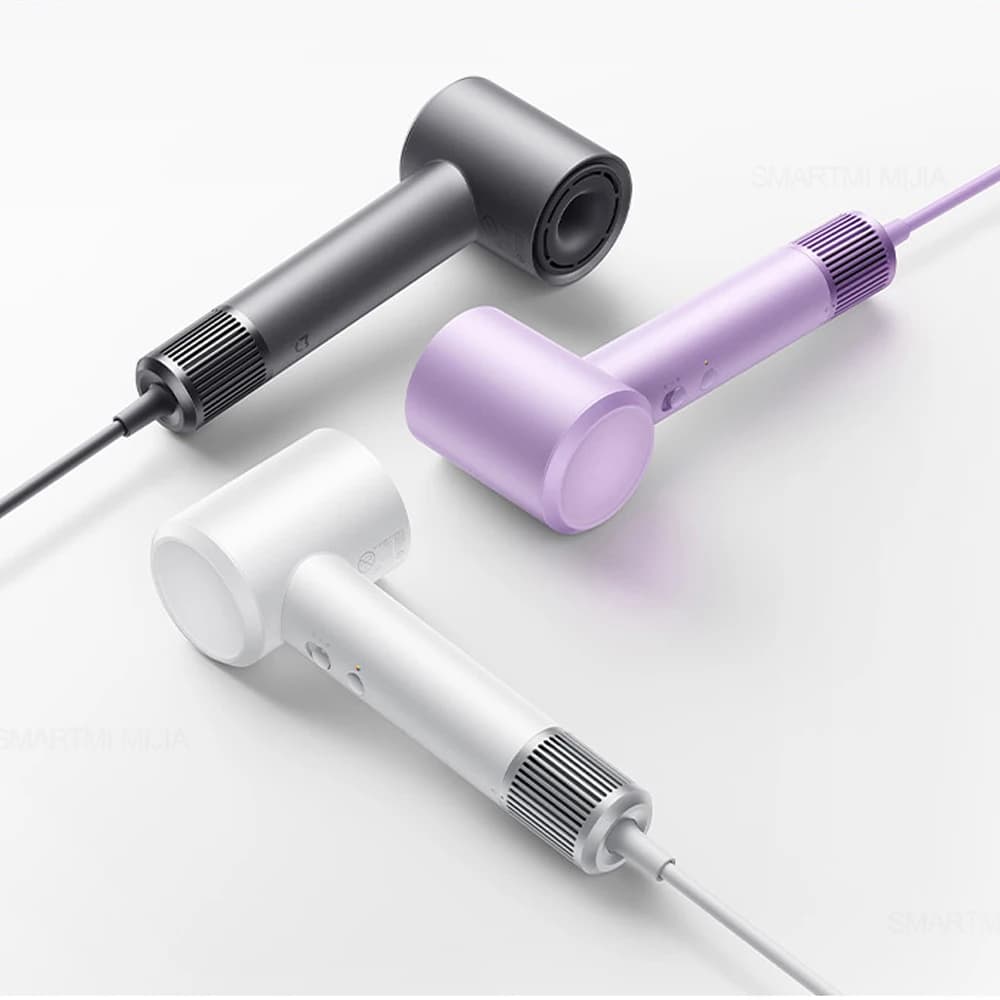
Keep hot air moving across the scalp rather than holding it on one spot; a scalp that feels hot is a sign to lower heat or increase distance. Our hair dryer heat, speed and voltage guide explains how airflow and settings let you dry fast without maximum heat. If you are replacing an old dryer, a high-speed model such as the High-Speed Ionic Hair Dryer is worth comparing; check its product page for settings, delivery and returns.
Step 3: Use hot tools at the right temperature
Flat irons and curling irons put hot metal or ceramic in direct contact with hair, so temperature and contact time matter most. Commonly cited starting ranges:
| Hair type | Sensible starting range for irons | Notes |
|---|---|---|
| Fine, damaged, bleached or highlighted | About 250 to 300°F (120 to 150°C) | Often styles at the bottom of the dial |
| Medium, healthy | About 300 to 375°F (150 to 190°C) | Increase in small steps only if the style will not hold |
| Thick, coarse or very curly | About 350 to 410°F (175 to 210°C) | Smaller sections often beat more heat |
These are starting points, not targets. Your tool’s manual comes first. Other rules that protect hair and scalp:
- Hair must be fully dry before a flat iron or curling iron touches it. Hissing or steam means stop.
- One controlled pass with gentle tension. Repeated passes over the same section multiply damage.
- Keep hot plates and barrels off the scalp. Work about half an inch to an inch away from the roots, and use a heat glove for wands.
- Let curls cool before brushing; that helps them hold without extra heat.
For choosing barrel sizes, see the curling iron barrel size guide.
Step 4: Protect the lengths every time
Heat protectant adds a layer that helps reduce moisture loss and friction during heat styling. It does not make high heat safe, and a “protects up to 450°F” label is the maker’s claim, not permission to style at 450°F. Apply it to damp hair before blow-drying, or to dry hair before irons if the product is designed for that, and keep it on the lengths, not the scalp. Our heat-protectant spray guide covers how much to use and how to distribute it evenly.
A sample weekly routine
Here is how a three-wash week might look for someone with medium-length hair who straightens or curls regularly:
- Day 1 (wash day): shampoo scalp, condition ends, blot dry, heat protectant, rough-dry, full blowout or iron styling.
- Day 2: no full restyle. Refresh only the front pieces with a low setting, or wear it as is.
- Day 3: heat-free style: braid, bun, claw clip or low ponytail with a soft tie.
- Day 4 (wash day): repeat day 1, using a slightly lower iron temperature if hair looked fine last time.
- Day 5 and 6: refresh or heat-free.
- Day 7: wash, deep-conditioning treatment on lengths, air-dry or dry with a diffuser on low.
The specifics matter less than the pattern: full heat on fewer days, minimal touch-ups between, and at least one low-heat day.
Signs of heat damage and what to do
- Ends that feel rough, look see-through or split: trim them. Split ends cannot be repaired, only disguised; regular trims, often every 8 to 12 weeks, keep splits from traveling.
- Curls or waves that no longer bounce back: a sign of repeated high heat on textured hair. Cut back on irons and lower the temperature.
- Breakage at the same spot each day: often where an iron or tight band hits repeatedly. Change where you clamp and tie.
- Burning smell or sizzling when styling: the tool is too hot or hair is still damp. Stop.
Scalp issues are a separate matter. Ongoing itching, flaking, redness, tenderness or noticeable shedding can have many causes and deserve a dermatologist’s assessment rather than more product experiments.
Mistakes to avoid
- Styling from soaking wet. It doubles drying time and keeps hair under heat for longer.
- Turning tools to maximum by default. High settings are for coarse hair; extra heat on fine hair only wears it down.
- Applying heavy oils before an iron. Some oils are not intended for use under hot plates and can sizzle. Use products labeled for heat styling.
- Restyling every morning. Daily full restyles on the same lengths add up quickly; refresh only what needs it.
- Ignoring tool hygiene. Product build-up on plates and lint in dryer filters create hot spots. Clean them, cold and unplugged.
How to build the routine that fits you
- If your hair is fine or lightened, focus on lower iron temperatures and fewer passes, and lean on a dryer brush or round-brush blowout for volume.
- If your hair is thick or curly, focus on removing water before heat and using smaller sections rather than higher temperatures.
- If your scalp is oily, wash more often but style less each time, for example a quick rough-dry and a heat-free style.
- If you are unsure which tool to keep, compare them in our dryer brush vs straightener vs curler guide.
Browse dryers and styling tools in the personal care category.
Frequently asked questions
How often is it safe to heat style hair?
There is no universal number; it depends on hair type, condition and temperature. Most people do better with full heat styling on wash days and low-heat or heat-free styles in between, rather than full restyling every day.
Can heat-damaged hair be repaired?
Damaged ends cannot truly be repaired, though conditioners can make them look and feel smoother. Trimming removes the damage, and lower heat and gentler drying stop it spreading.
Should I put heat protectant on my scalp?
No. Apply it to the lengths and ends where styling tools make contact. Keep hot tools and very hot air away from the scalp instead.
Is air drying better than blow drying?
Air drying avoids heat but leaves hair wet for longer. Many people find partial air drying followed by a quick, moderate-heat blow-dry is a good balance of time, finish and hair condition.
When should I see a doctor about my scalp?
See a dermatologist if itching, flaking, redness, soreness or hair shedding persist or worsen, or if you notice patches of hair loss. These have many possible causes that need proper diagnosis.
Shop Beauty & Personal Care
View all → Sale
SaleChampagne Gold Makeup Brush Set with Travel Pouch
In stock · Options available · Ships in 7–21 business days
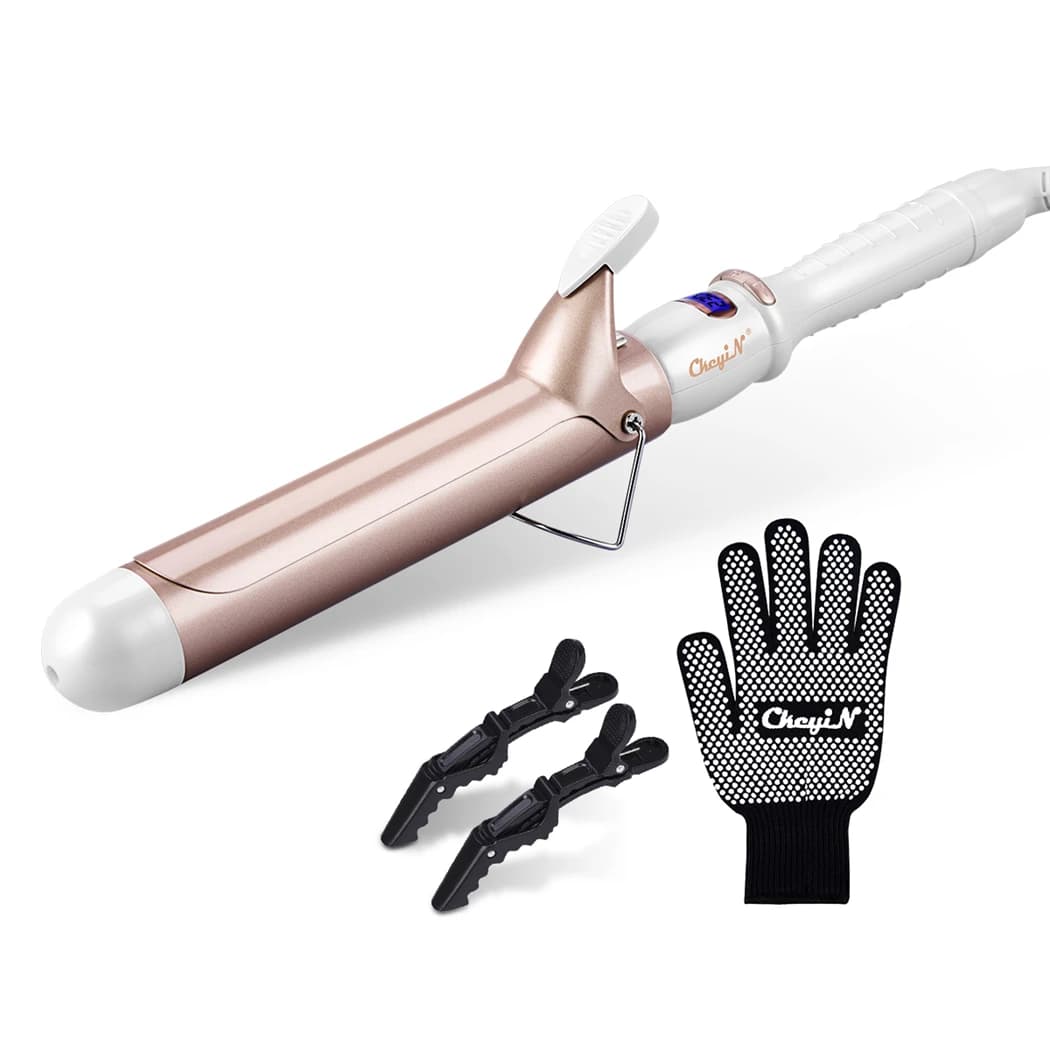
Tourmaline Ceramic Hair Curler with Adjustable Heat
In stock · Options available · Ships in 7–21 business days
 Sale
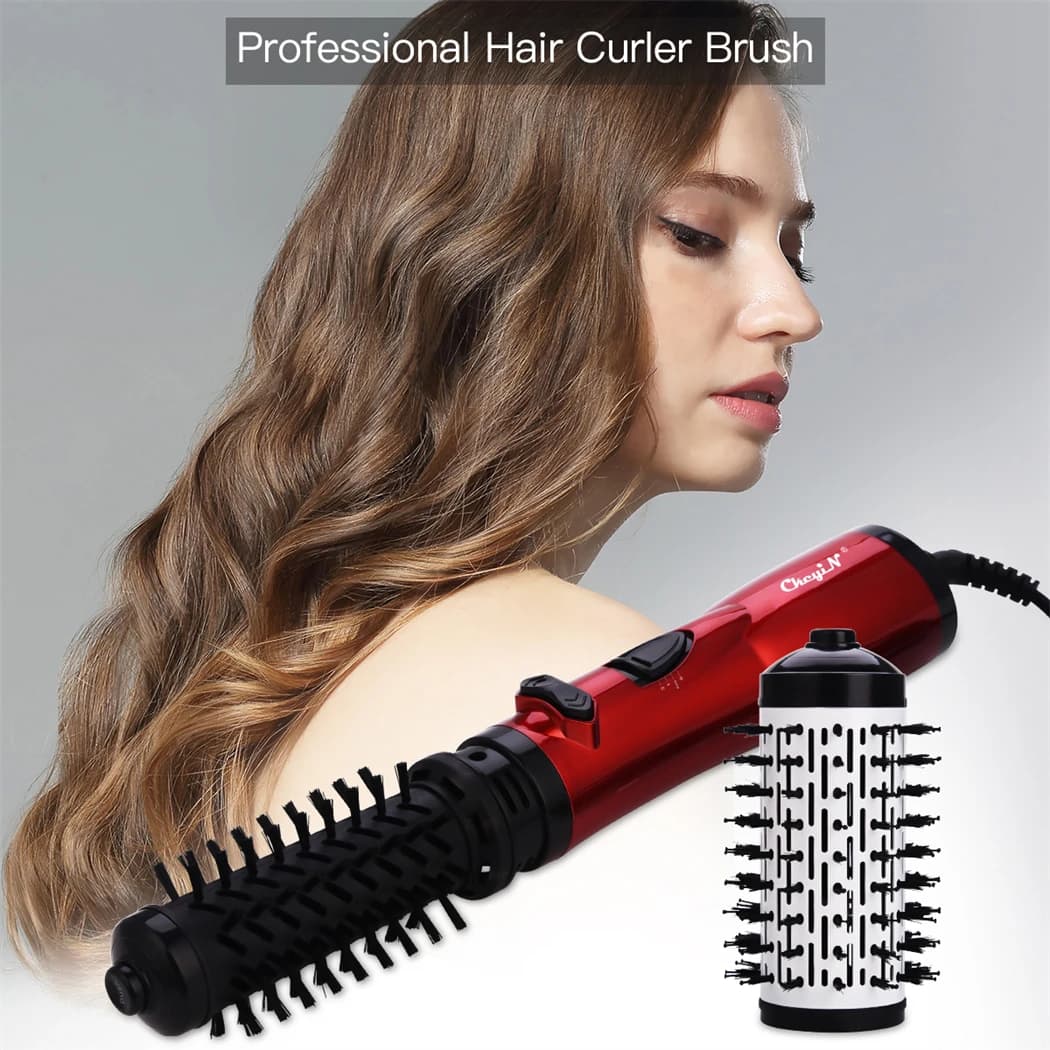
SaleRotating Hot Air Brush with Ceramic Tourmaline Barrel
In stock · Ships in 7–21 business days
 Sale
SaleHigh-Speed Brushless Ionic Hair Dryer with Magnetic Nozzle
In stock · Options available · Ships in 7–21 business days
Continue reading
 Beauty & Personal Care
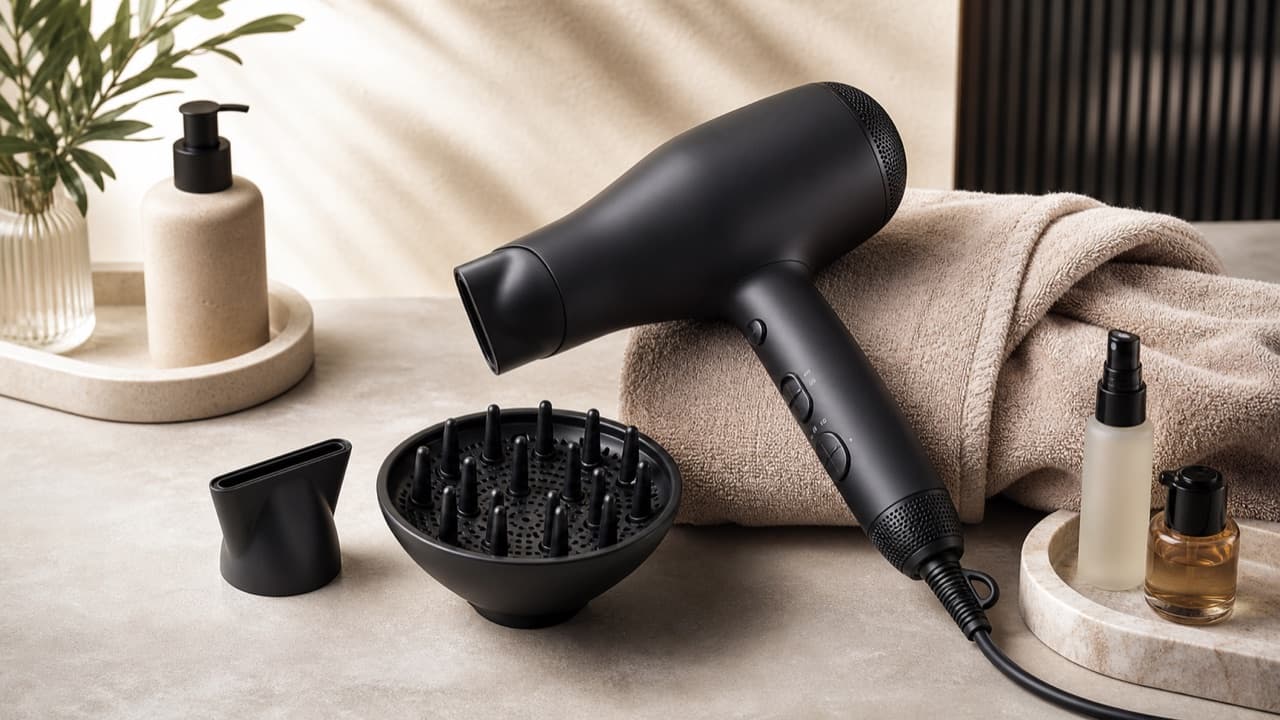
Hair Dryer Wattage, Heat Settings and Voltage Explained
Hair dryer wattage, heat and speed settings, motor types and voltage explained, so you can compare dryers, avoid travel burnout and dry faster with less heat.
 Beauty & Personal Care
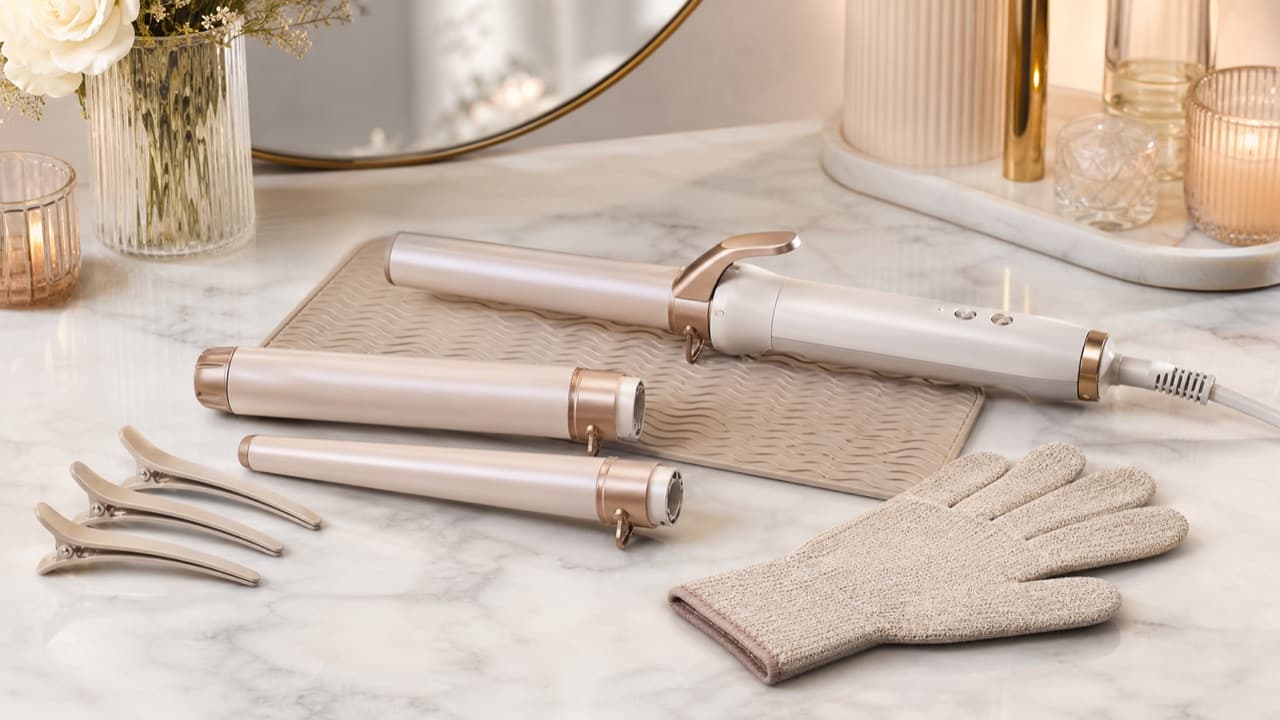
Curling Iron Barrel Size Guide: Pick by Hair and Heat
Curling iron barrel size sets your curl shape. See which diameter suits your hair length, which temperature to start at and the safety features to look for.
 Beauty & Personal Care
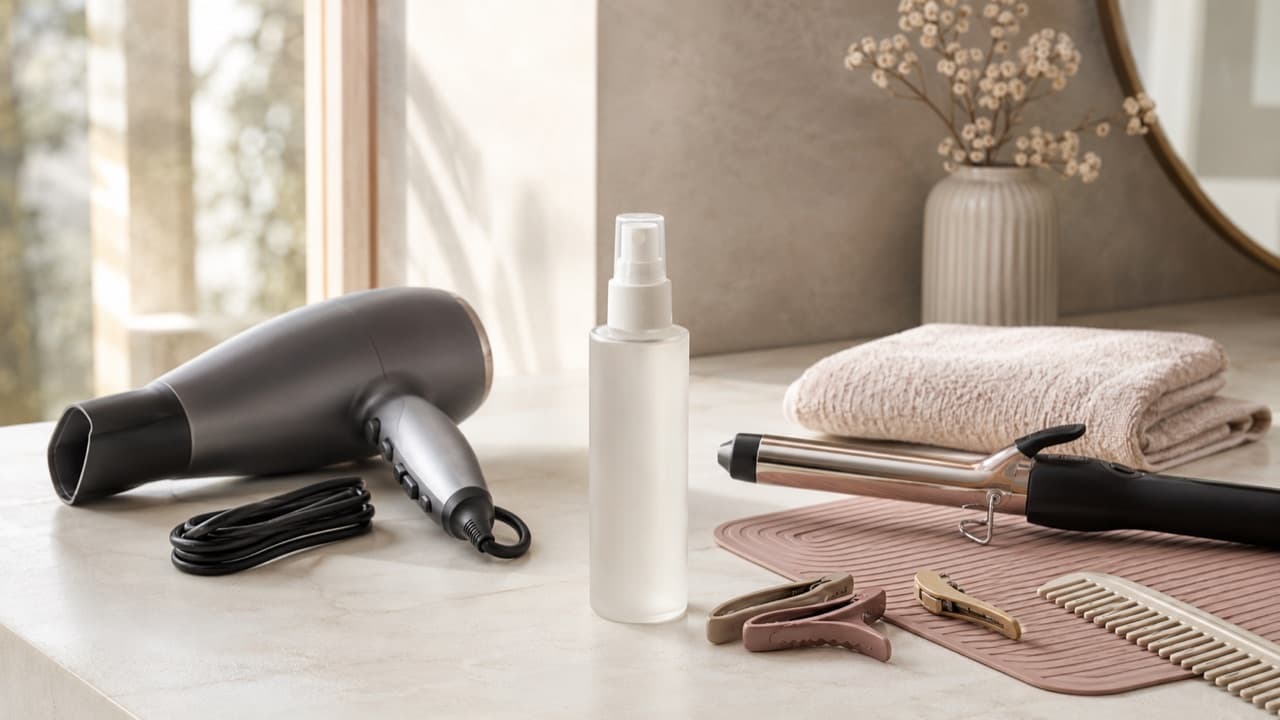
How to Use Heat Protectant Spray the Right Way
How to use heat protectant spray: when to apply it, how much to use, wet vs dry formulas, sectioning and wait times, so it actually helps your heat styling.